Create a vendor label
When materials are received from vendors, they usually have a vendor label affixed to each part instance. These vendor labels may have one-dimensional (1D) barcodes, two-dimensional (2D) barcodes, or a combination. Defining the desired fields from a materials receiving perspective drives the receiving and labeling process in Logistics. In addition, it may be possible to scan several data fields with a single scan using a complex barcode as defined About Barcode templates.
Log into the NPI client application.
Select Templates and Standards
 > Vendor Labels.
Select the Add
 button in the upper-left corner of the window, enter a Name for the New Label Profile, then select OK.
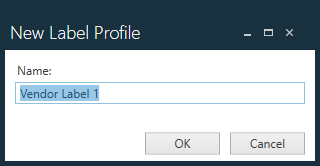
Using the example from About Barcode Templates, select the Add Complex Barcode
 button, then select the complex barcode used in the About Barcode templates topic.
Any fields defined in the original Material Capture Barcode template will be included automatically. When receiving new material instances as part of a receiving process, the defined fields will be prompted for as part of the labeling process.
In certain circumstances, you may need to define each field that makes up a vendor label for individual scanning.Repeat Step 3 to create another vendor label using the same label as the example (but ignoring the 2D barcode).
Since the first field in the example label is the Part Number, select Add Simple Field
 > Part Number.
For this newly-added part number field, select the Add Barcode Image
 button under Part Number.
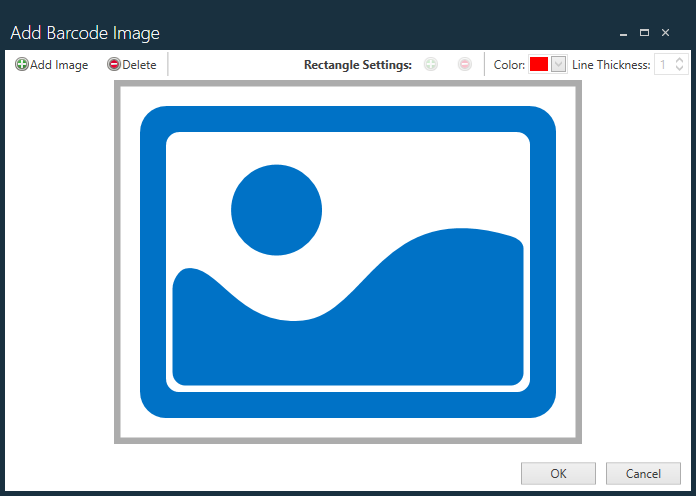
Select an image file representing the barcode format using the Add Barcode Image
 button.
Locate and select the barcode image, then select Open.
Using the button at the top of the dialog, drag around the barcode image to add a highlight rectangle.
After you add the rectangle to the barcode image, drag to resize and reposition the rectangle to highlight the barcode that represents the appropriate field (in this case, the part number). You can also specify the line weight (thickness) of the line and the line color as shown in the following illustration.
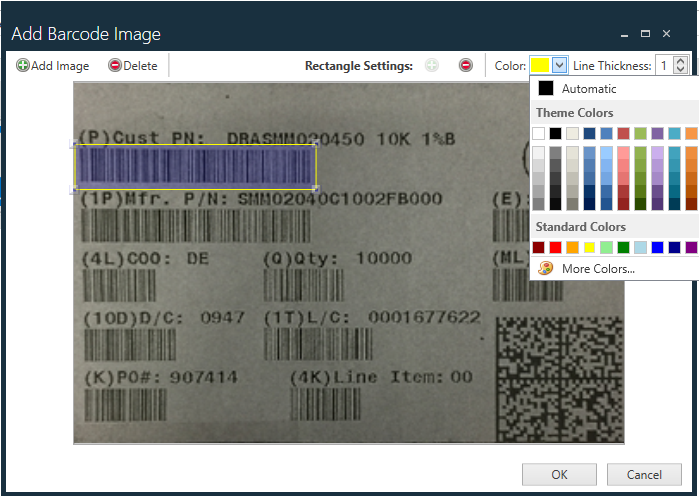
The highlighted barcode image is displayed in the Vendor Label Viewer gadget in the Operator Interface template during a receiving process, guiding operators to scan the proper barcodes as new material instances are received and added to FactoryLogix. As new fields are added, you can optionally designate which fields are required (operators must scan/enter data in the receiving process).
Ordinarily, the only required field in receiving processes is the UID Quantity since the part number being received is typically already known. The quantity, however, is a very important variable. Users will always notice this required field. For each field designated, it is also possible to only require users scan the information for that field once at the beginning of the receiving operation—typically when many instances of the same part are being received at once—this is set as the Capture Type.
Tip
To make the receiving process easy for operators to use, include a sample image of the barcode format along with a highlighted area to indicate which barcode to scan.
Related topics |
|---|