Create a carrier and add it to inventory

A carrier is a way to contain multiple assemblies under a single barcode. For example, multiple PCBs can be loaded into a rack, fixture, or pallet.
You define carriers in the Containers area of NPI, then assign Unique Identifiers (UIDs) to them. After you define a carrier, you can add specific instances of the carrier, each with a UID or barcode and add them to your inventory. You utilize the carriers in the Production client application.
Log into the NPI client application.
Select Logistics
 > Containers to display the Containers window.
Select Carriers on the left side of the window (select either the word or the image).
To add a new carrier such as 4-Up Pallet for example, select the Add
 button on the left side of the window.
Enter a Name for the carrier.

Enter a Max Capacity for the carrier (4 in this example).
Note
The Total Service Life and Inter Service Life options are not relevant with respect to carriers.
Select OK.
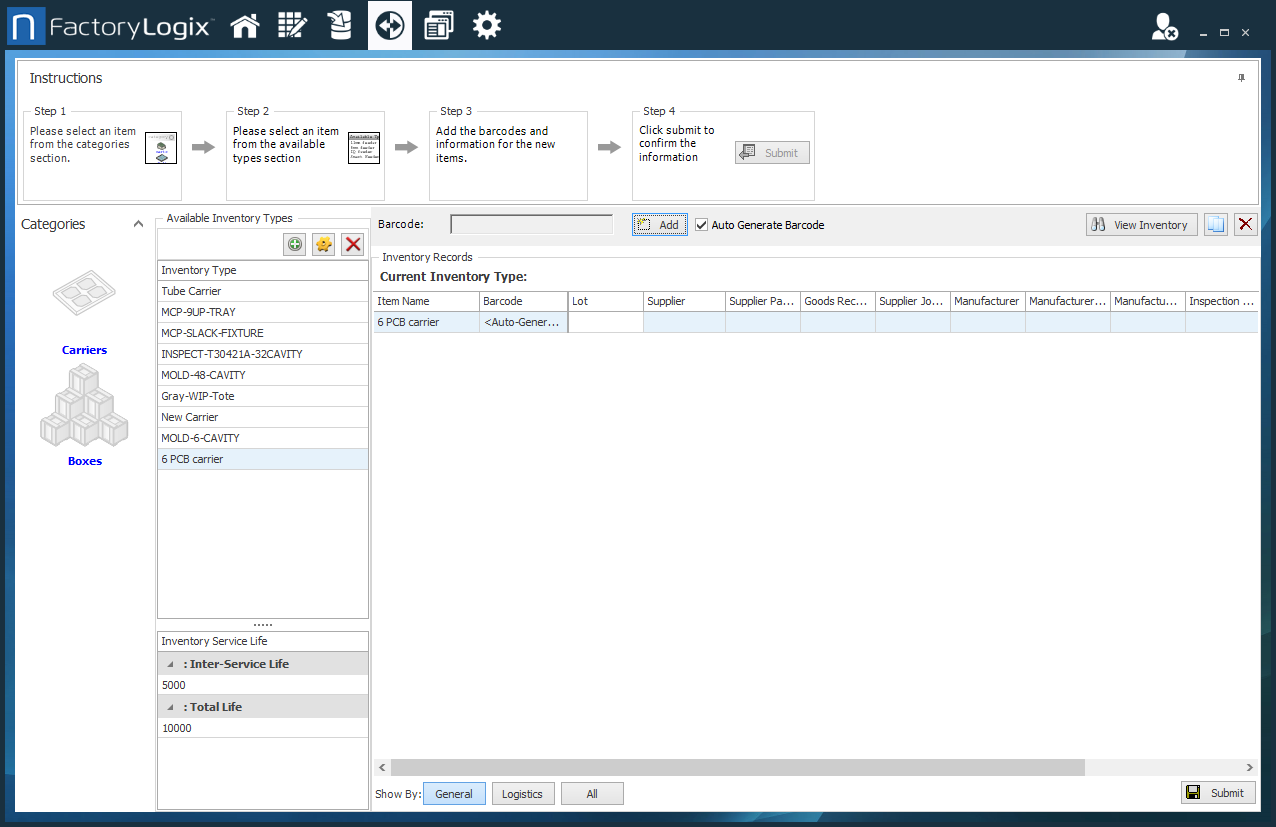
Use the Barcode field to scan or enter a barcode for this carrier or select the Auto Generate Barcode check box to create UIDs automatically.
Select the Add button to add the carrier as an inventory type, then select the Submit button in the lower-right corner of the window to add the carrier to the database.

When you see the confirmation message, select Close.
To add specific instances of the carrier, each with a UID or barcode, select the carrier you created, select the Add button, then select the Submit button in the lower-right corner of the window.
Each time you select Submit, a new carrier of that type is created and a UID is generated.For each instance of a carrier in inventory, use the fields on the right side of the window to add details such as Lot, Supplier, Supplier Part Number, Goods Receipt ID and so on.
Select the View Inventory button on the right side of the window to view the carriers in inventory.
Select any field and enter details for a carrier in inventory such as Quantity, Vendor, and so on.
When you finish making changes, select OK to return to the Containers window.
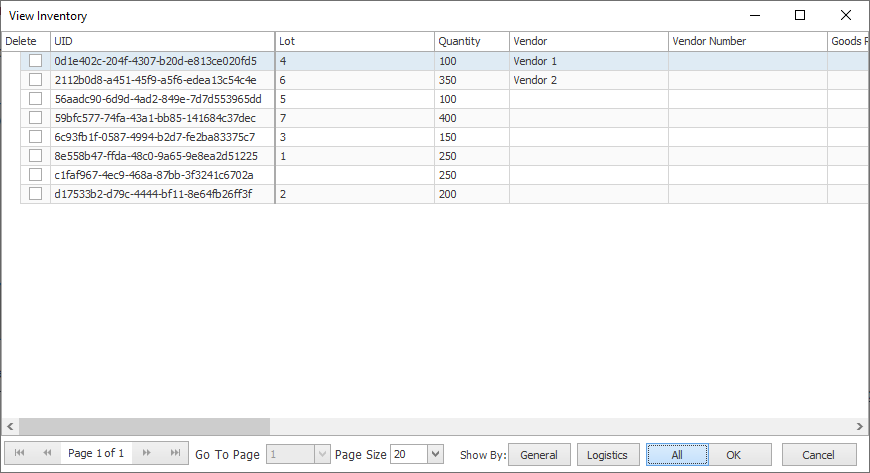
Note
In the View Inventory dialog, you can page through the inventory using the controls at the bottom of the window. Select the General, Logistics, or All button to control how much information you see about carriers.