Example: Set up a packout label template in NPI
This topic provides an example of how you can set up a packout label template in the FactoryLogix NPI client application.
Log into the NPI client application.
Select Templates and Standards
 > Printed Label Templates.
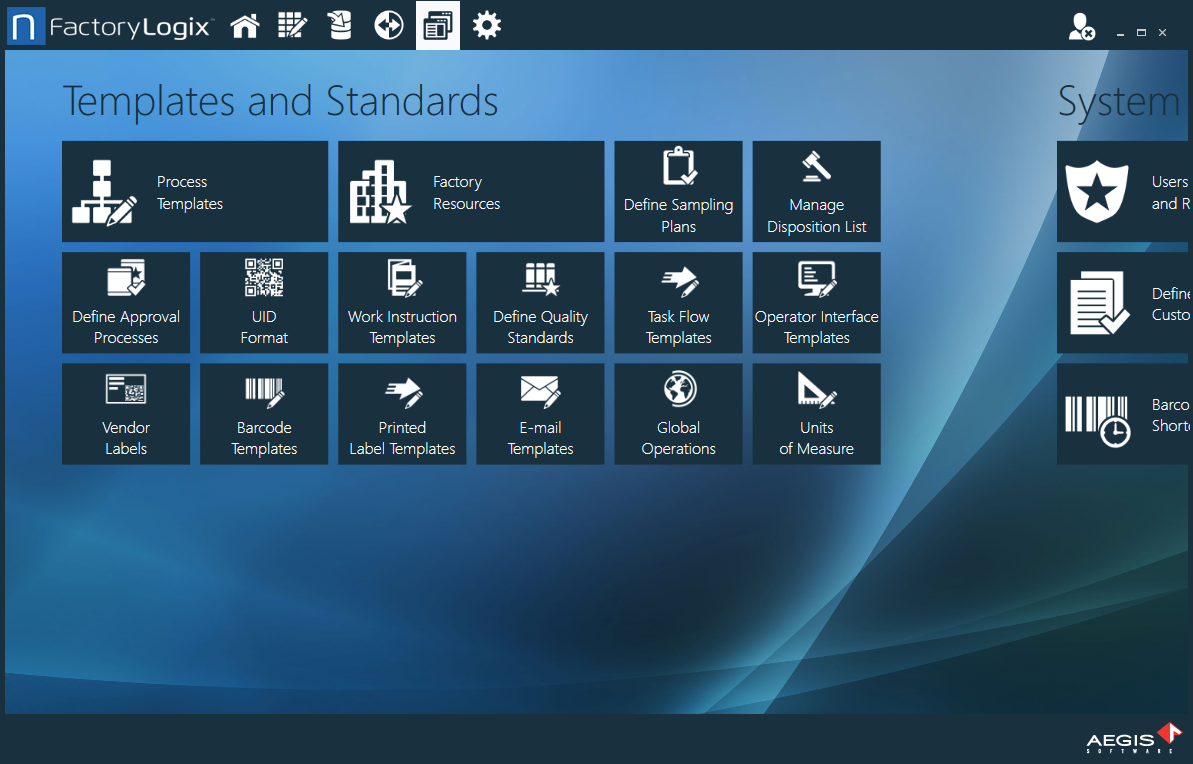
Select the Add
 button, then select Packout Label Template (or a different label type, if desired).
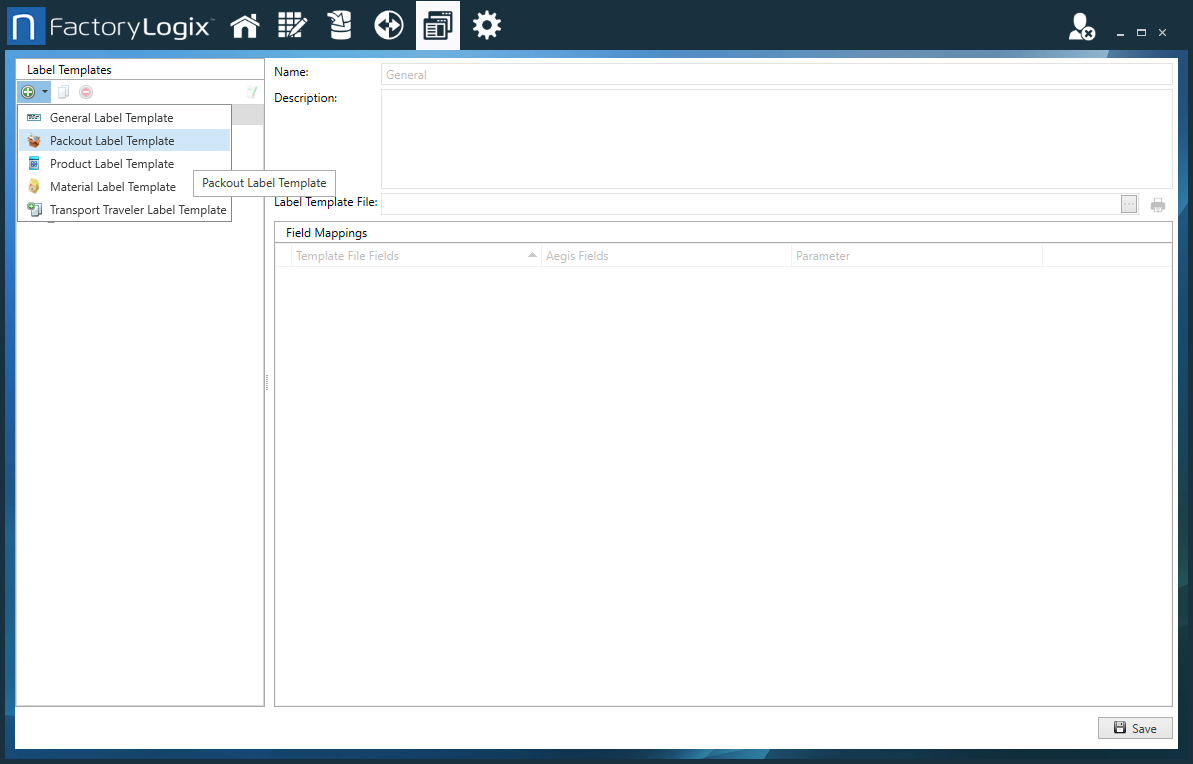
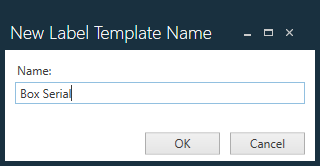
Enter Box Serial (or a different name) for the template in the New Label Template Name dialog, then select OK.
In the Label Templates tree, browse to and select the saved label template to display the field mapping settings.
Select the Browse (...) button next to the Label Template File field, then locate and select the NiceLabel or BarTender label template you created.
Under Field Mappings, Template File Fields are the data sources you set up in the label printing software. Aegis Fields is the FactoryLogix data that will be populated into the label template when you print the labels.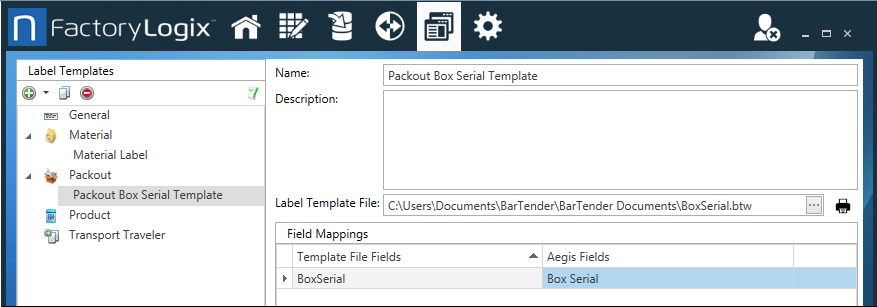
For this example, set the Template File Fields for the BoxSerial template to match the Aegis Fields for Box Serial to ensure that the serial numbers entered for boxes in Packout are populated into the BoxSerial field for the label template at print time.
Set up boxes in containers
Log into the NPI client application.
Select Logistics
 > Containers.
Select the Boxes icon on the left side of the window, then select the Add
 button to create a new box.
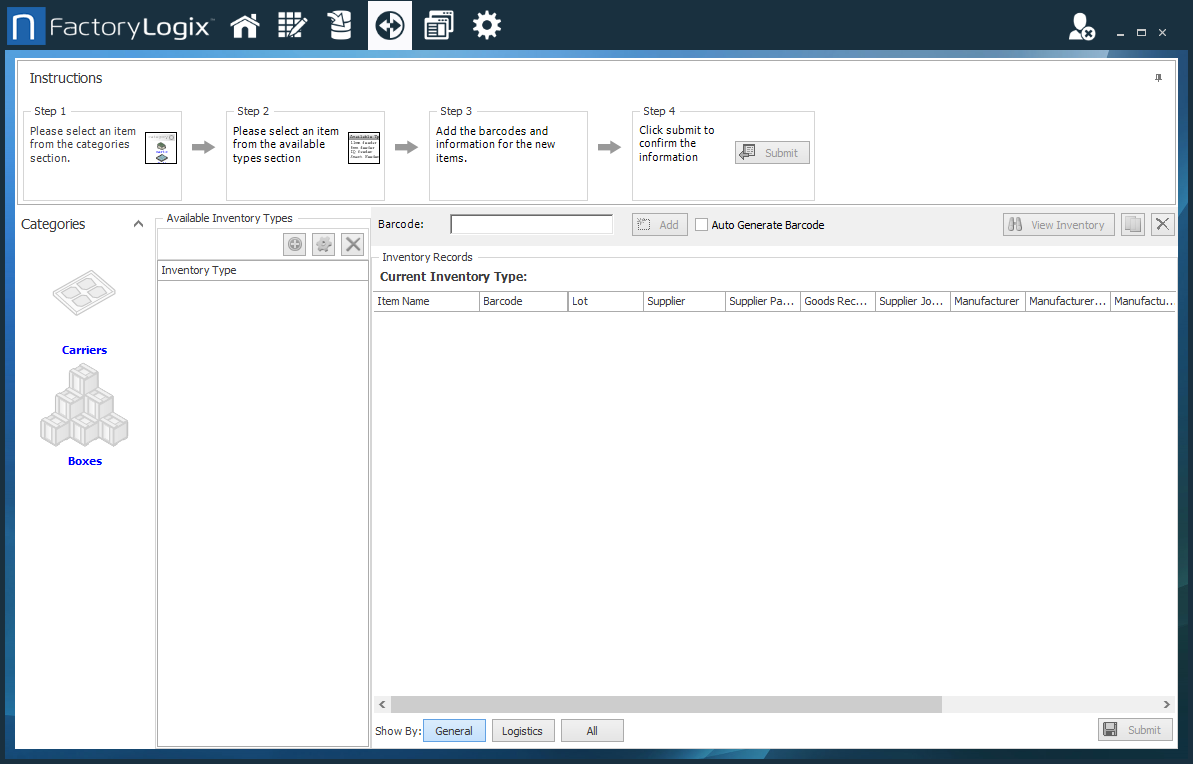
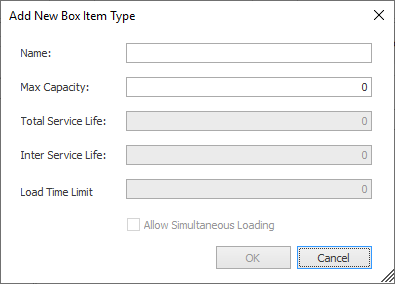
Enter a name for the box in the Name field, set Max Capacity to 1, then select OK.
The new box is displayed under Inventory Type.
Note
The Max Capacity value specifies how many units may fit into this box.
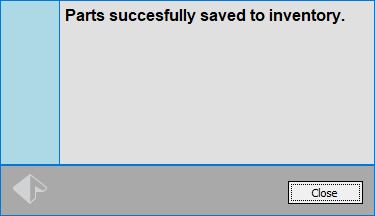
Select the new box under Inventory Type, enter a barcode for the box in the Barcode field, then select the Add button.
This barcode will be populated automatically for the BoxSerial field in the BarTender or NiceLabel template.Select the Submit button in the lower-right corner of the window to submit the box into inventory, then select Close when the confirmation message displays.
Select the View Inventory button to see the inventory quantities for the newly-created box. Use the Quantity field to change the quantity of the physical boxes. (By default, the Quantity value is set to 1.)
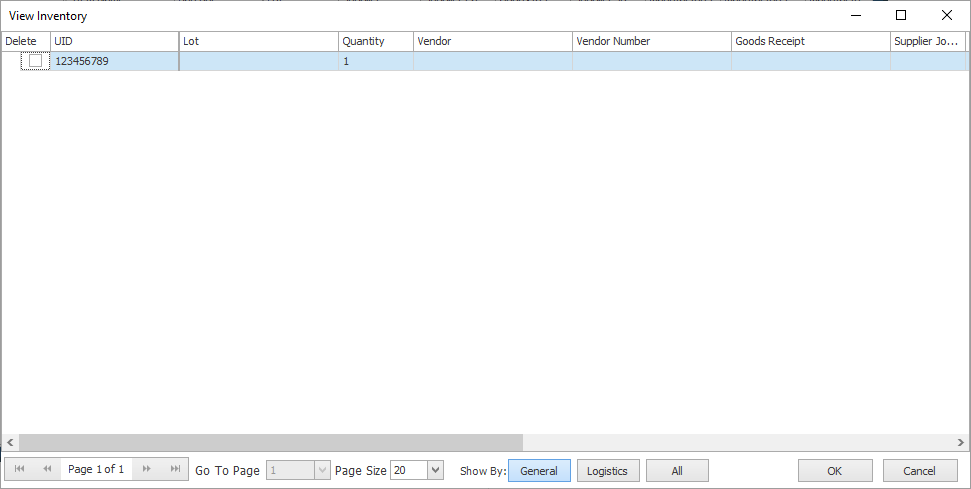
Select OK to close the window.
Create a Packout operation in the process flow
When creating a packout operation in a process flow, you use a Packout step.
Log into the NPI client application.
Select Process Engineering
 > Define Processes, locate and select a process, then select OK to open it in the Process Definition window.
Double-click the Process Flow in the tree on the left side of the window to check it out for editing.
Right-click Process Flow, then select Add Operation.
Enter Packout in the Name field, select options for the Packout operation, then select OK.
Select the Packout operation in the Process tree, then select the Edit
 button.
Select the Add
 button under Step List, then select Packout Step.
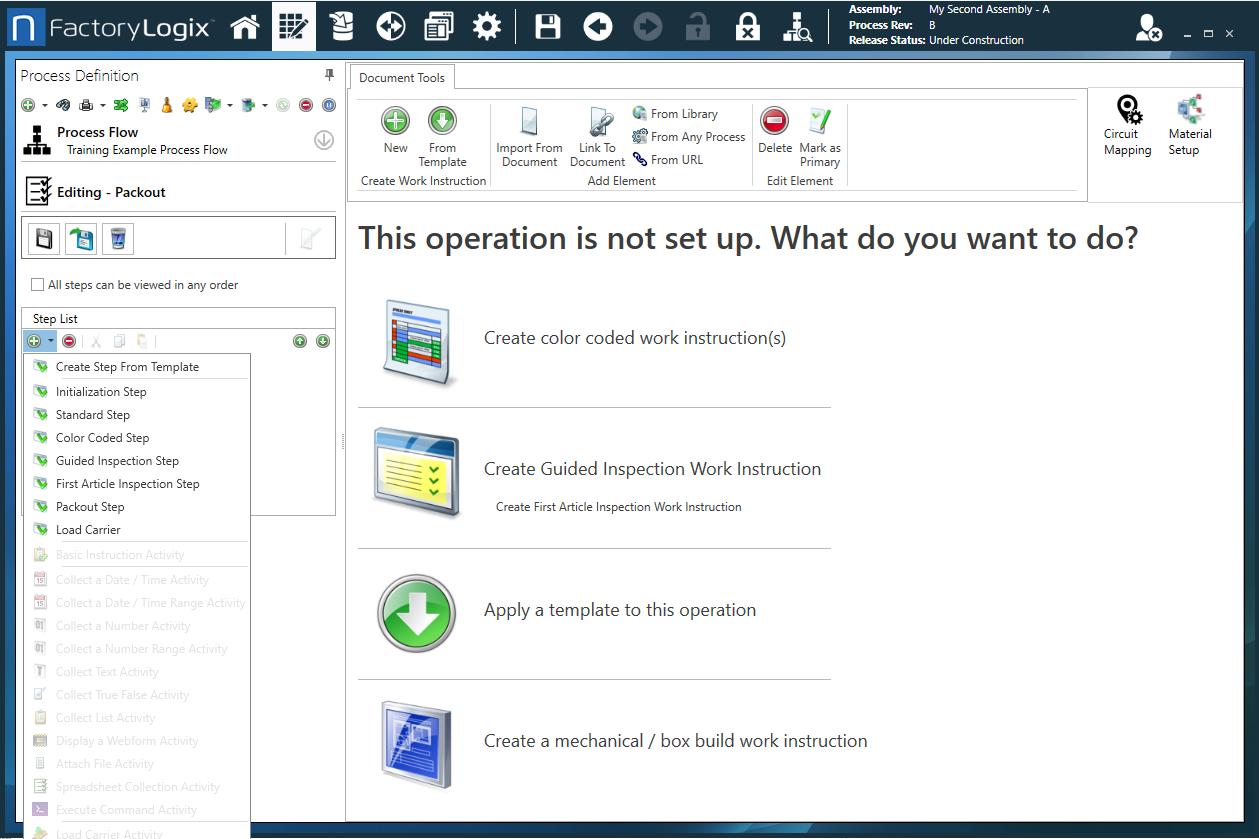
Double-click the newly-created Packout step to open the Settings dialog.
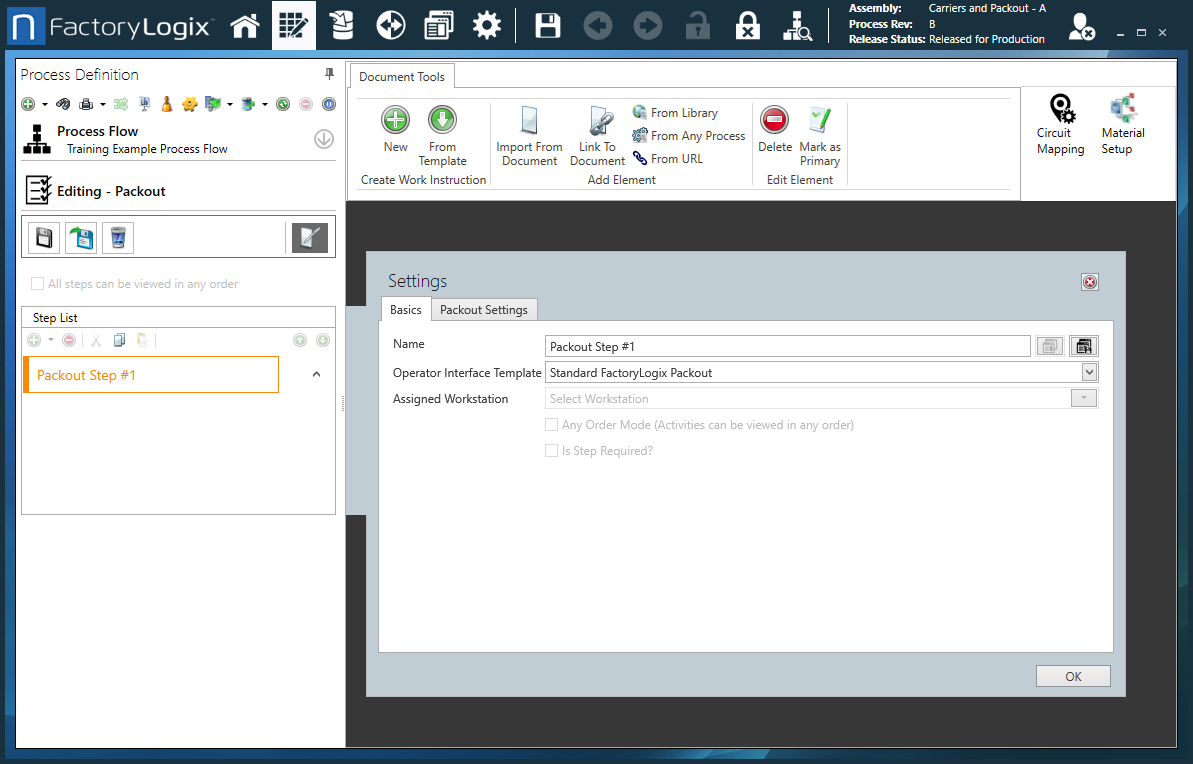
On the Basics tab, select a template for the Packout step from the Operator Interface Template drop-down.
Note
Ensure that the Operator Interface Template you select has an Activity Work Area and Activity Navigator available.
Select the Packout Settings tab, then use the Box Type drop-down to select the box that serial numbers will be loaded into at the Packout step.
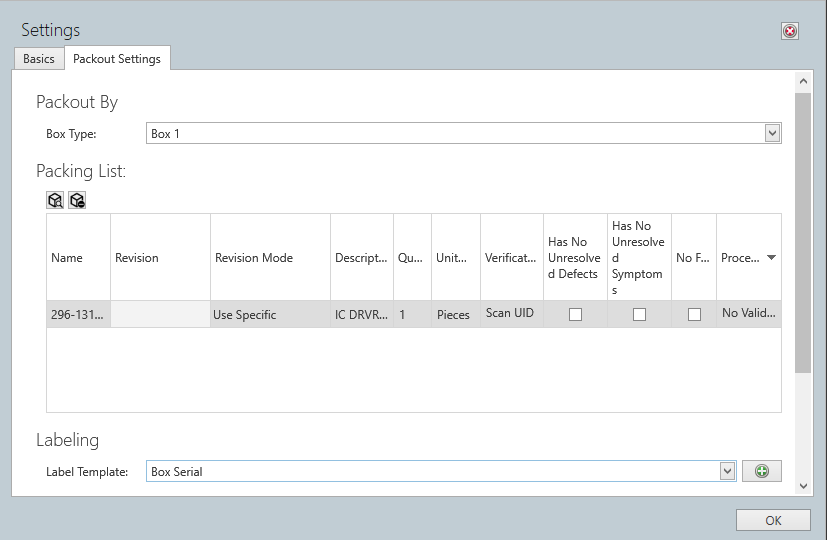
Select the Search button under Packing List.
In the Packing List Search dialog, use the Search and Classification Filter drop-downs to specify the items that will be loaded or packed into the box, then select the Search icon.
Note
Most commonly, the assembly of the current process is selected, as it will be loaded into a box as one of the final operations in the process.
Use the Select check boxes to select the appropriate assembly for this packing list, then select OK.

Select the NiceLabel or BarTender label template (Box Serial) from the Label Template drop-down, then select OK.
Two activities are created for the Packout step instructing operators to scan the box barcode, then scan the serial number for the assembly being loaded into the box.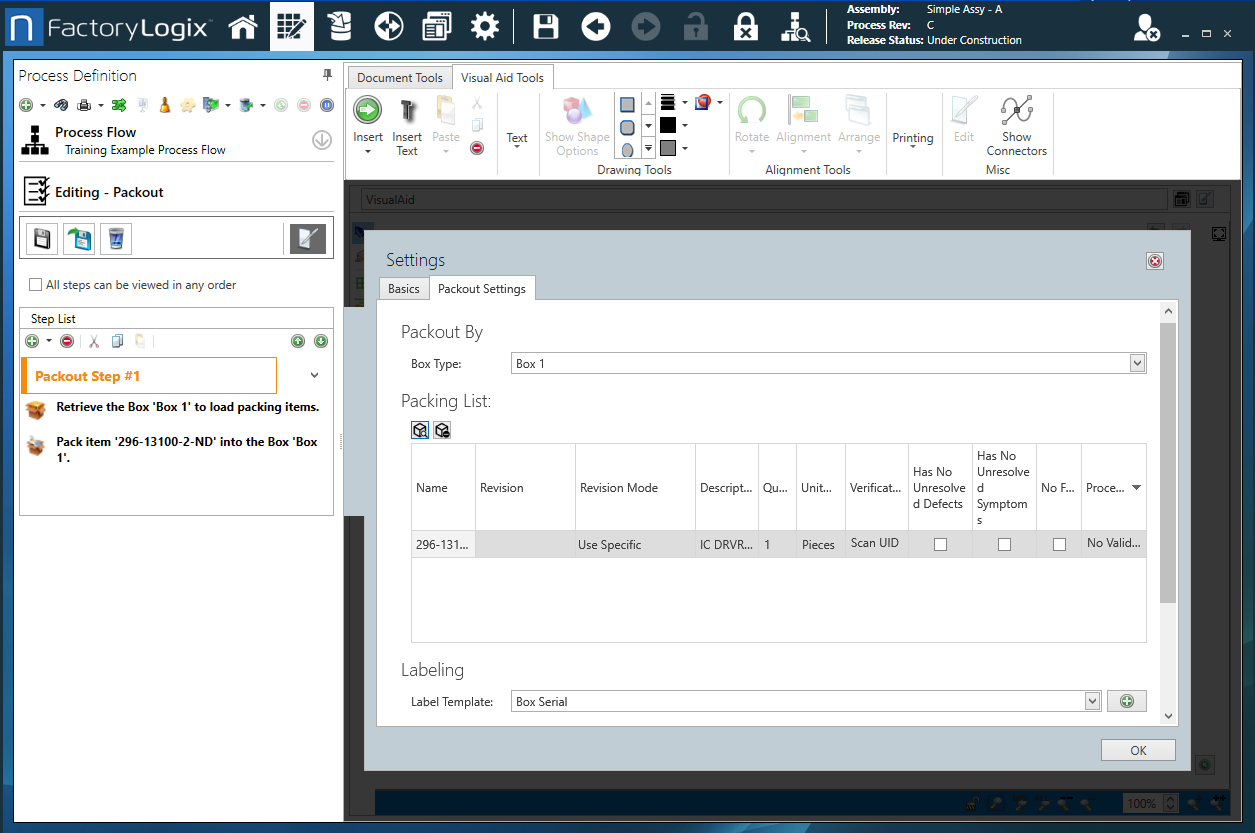
When you're ready, save the process flow and release it to Production.
Create a Production batch using the newly-released process.
Scan barcodes at the Packout operation in Production
Open the Production client application.
Select the Batch Selector button, select the batch that contains the Packout operation, then select the Select button in the lower-right corner of the window.
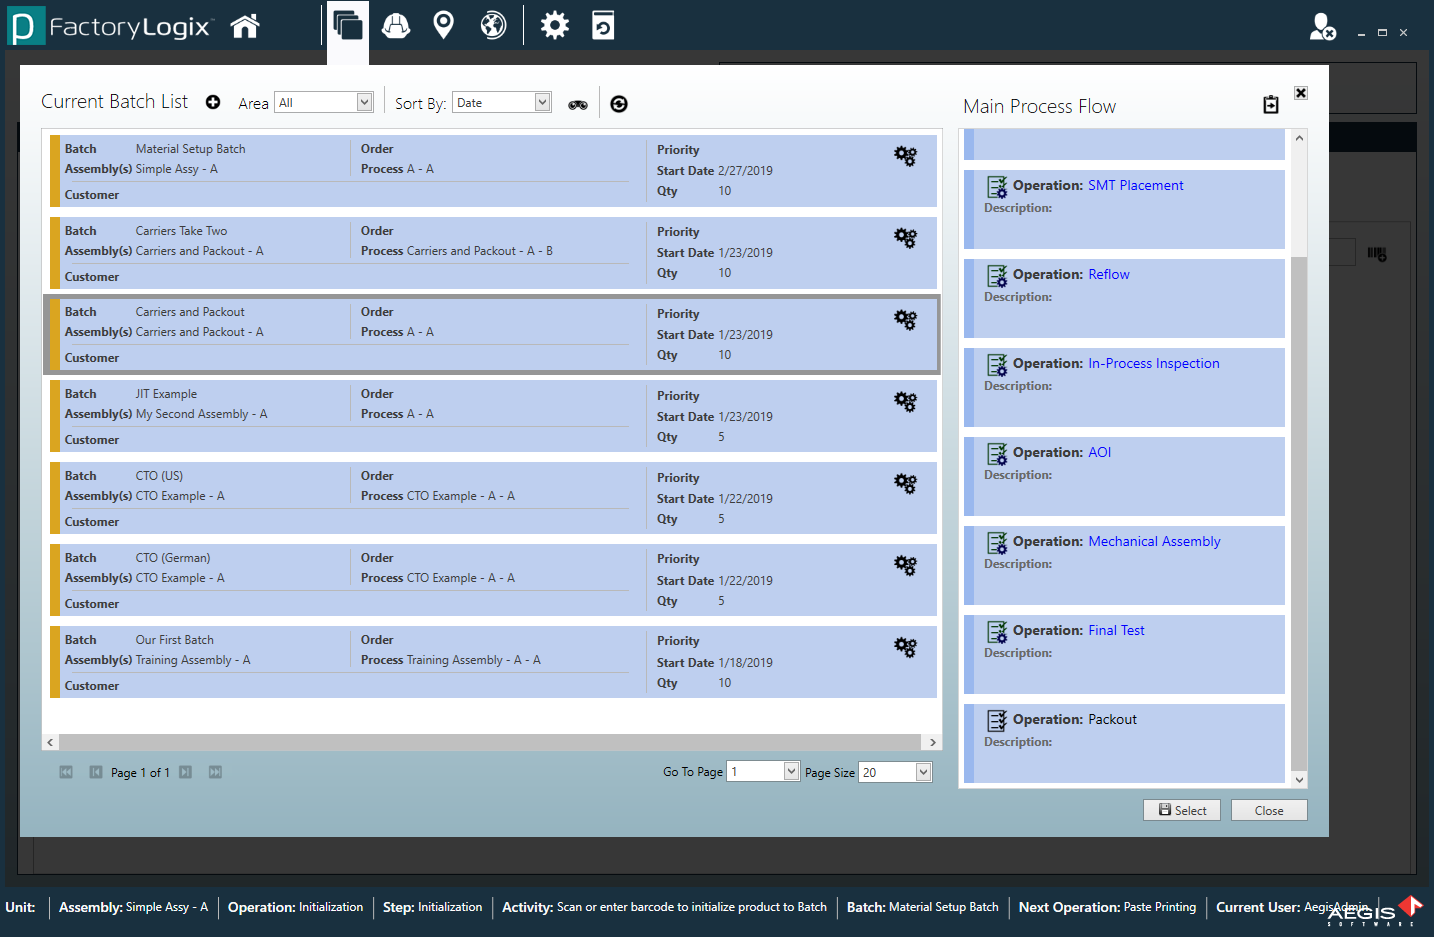
Process serial numbers through the operations in the batch until they reach the Packout operation.
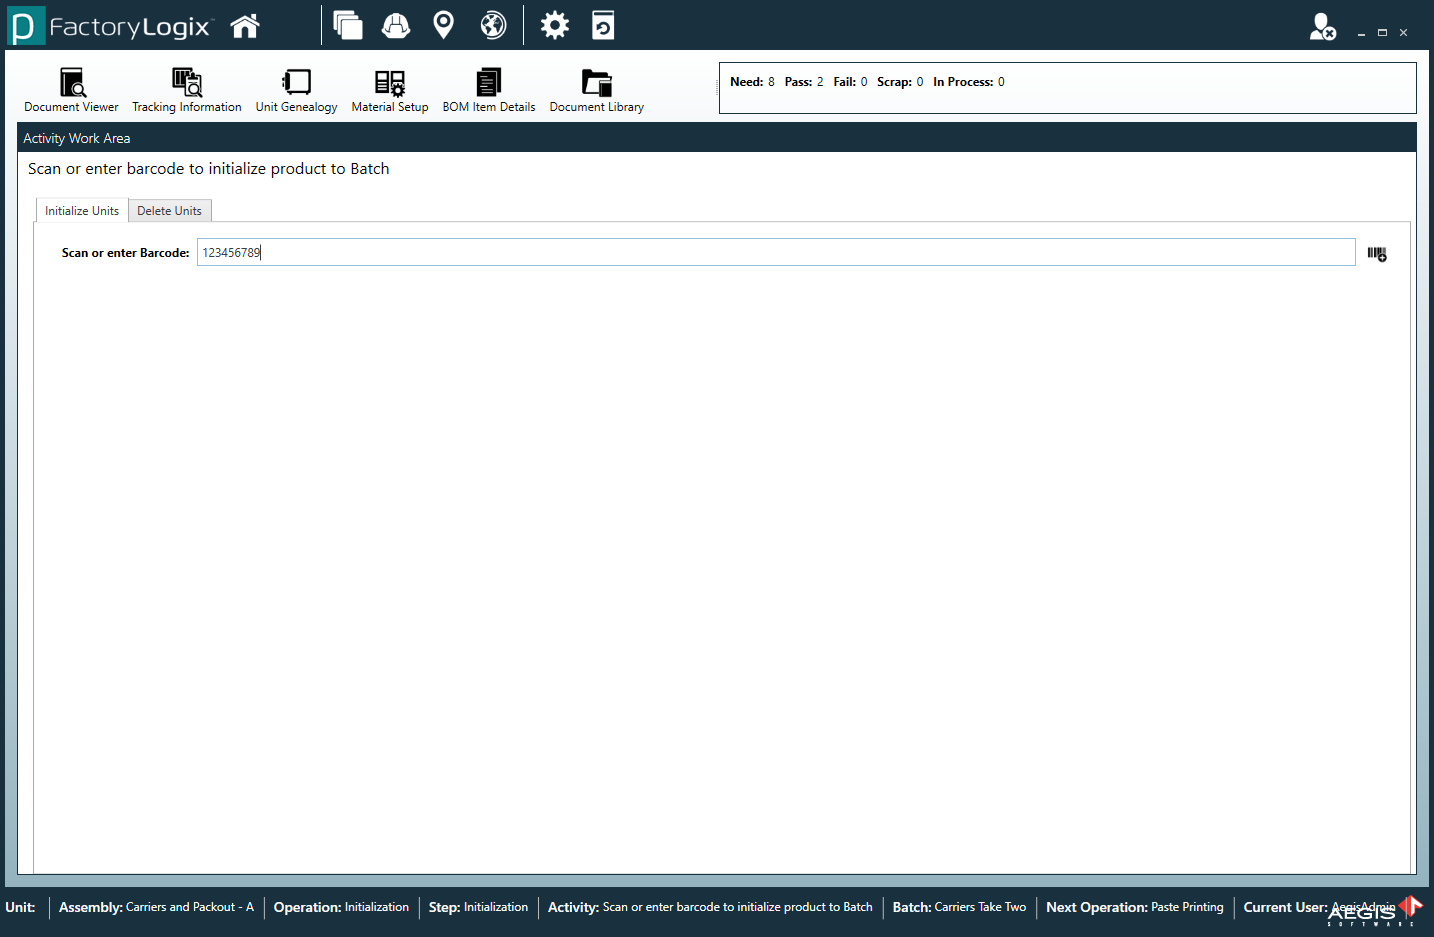
The activity will instruct the operator to Scan or Enter Barcode for Box (Box 1) that is being used.
Once the box barcode is scanned, the second activity will instruct the operator to Scan or Enter the Barcode for Packing Item (this is the assembly serial number) and pack the item in the box.
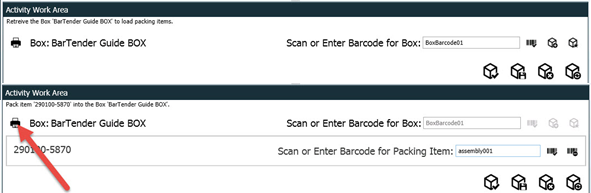
Finally, select the Print Labels button to print the label you defined in the label template.
The box barcode you entered in Production is automatically populated in the BoxSerial data source field in the label template. The label will be printed, then the operator will adhere it to the box.
Related topics |
|---|