Global packout allows you to create a global/universal packing list for finished goods—independent of any individual work order, batch, or process.
Log into the NPI client application.
Select Templates and Standards > Global Operations.
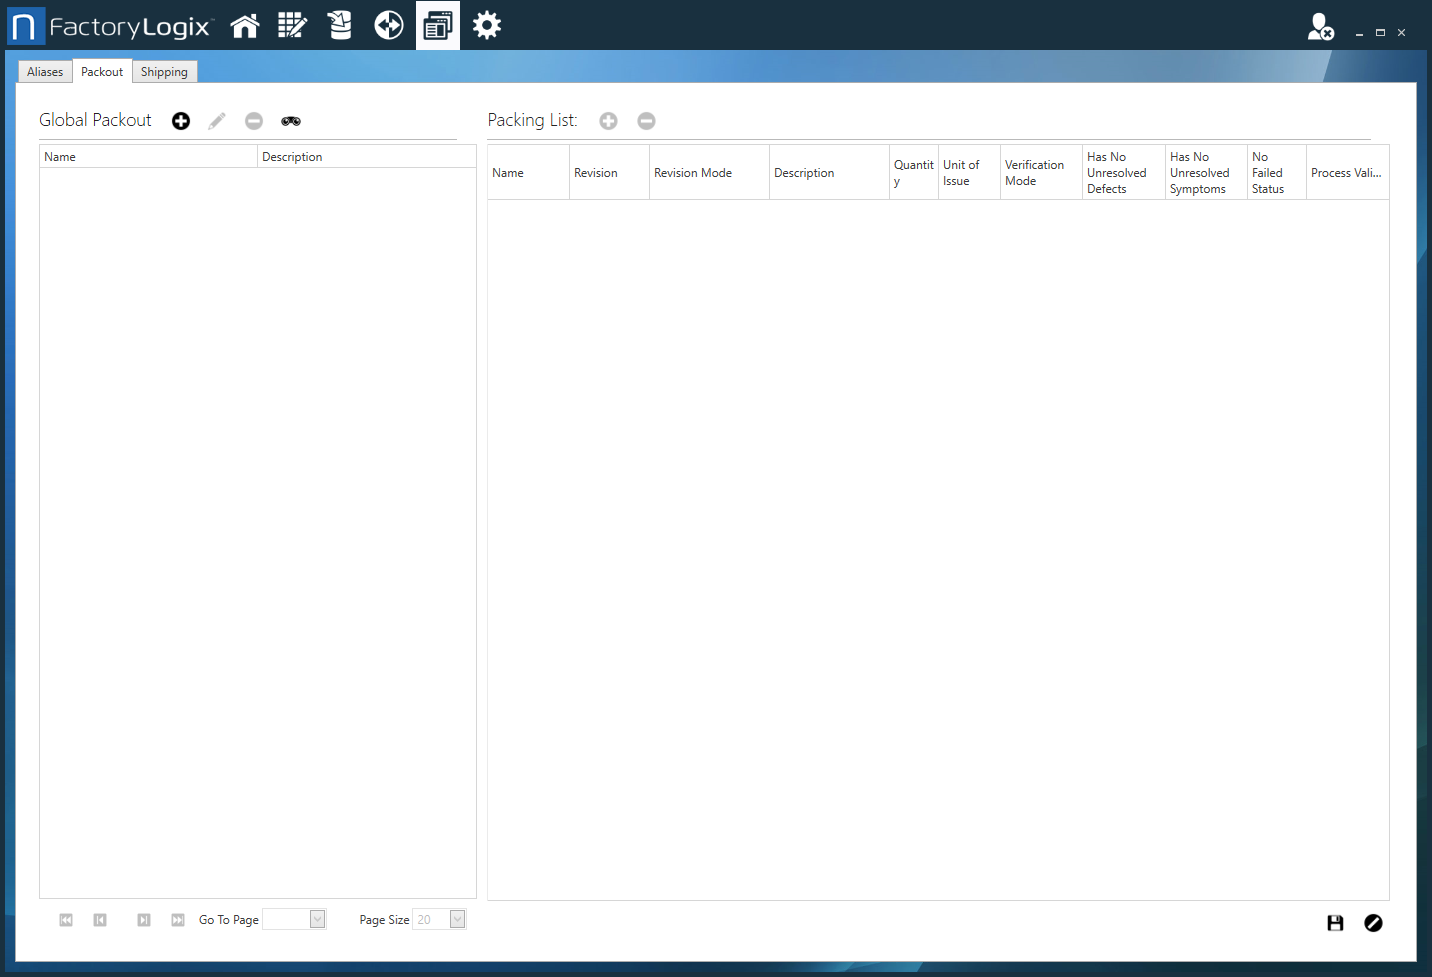
Select the Packout tab.
(Optional) To search for an existing global packout operation, use the Search for Global Packout button (the binoculars), enter the packout operation name in the Search field, then select the Search for Global Packout button again.
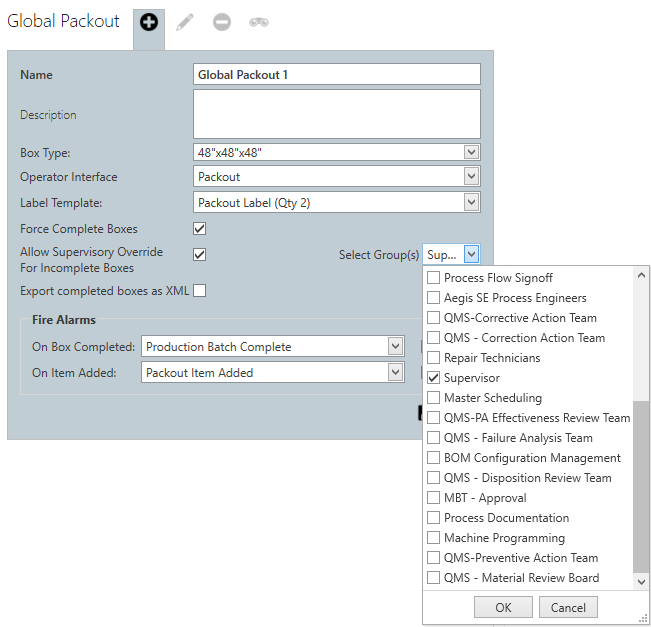
Select the Add Global Packout button next to Global Packout on the left side of the window to display more options for adding a new global packout operation.
Enter a Name for the global packout operation.
(Optional) Enter a Description for the global packout operation.
Select a box type from the Box Type drop-down.
Select an operator interface template for the global packout operation from the Operator Interface drop-down.
Select the desired Label Template and specify the label quantity.
Use the check boxes to make the desired selections for the following options:
Force Complete Boxes - Will not complete packout unless all boxes are complete.
Allow Supervisory Override For Incomplete Boxes - Allows selected groups of people to override incomplete boxes (supervisors, for example).
Select Groups - Use this drop-down to select the groups who can perform overrides on incomplete boxes.
Export Completed boxes as XML - Exports global packout data in *.xml format for ERP integrations.
Under Fire Alarms, specify the alarm reaction templates to use for these events and whether to print the alarm reaction (send a report or email, for example):
On Box Complete - Specify the alarm reaction to use when a box is completed.
On Item Added - Specify the alarm reaction to use when an individual item is added to a box.
Select the Save button to save the information for this global packout operation.
Now you're ready to create a packing list.
On the right side of the window next to Packing List, select the Add Packing Items button.
In the Packing List Searcher dialog, use the Search option to search for inventory items to be packed. (For details about packing lists, see Add parts list items to a packing list.)
Use the Classification Filter drop-down and check boxes to select the types of inventory items to be packed: (Select All), Assembly, Part, and/or Box, then select OK.
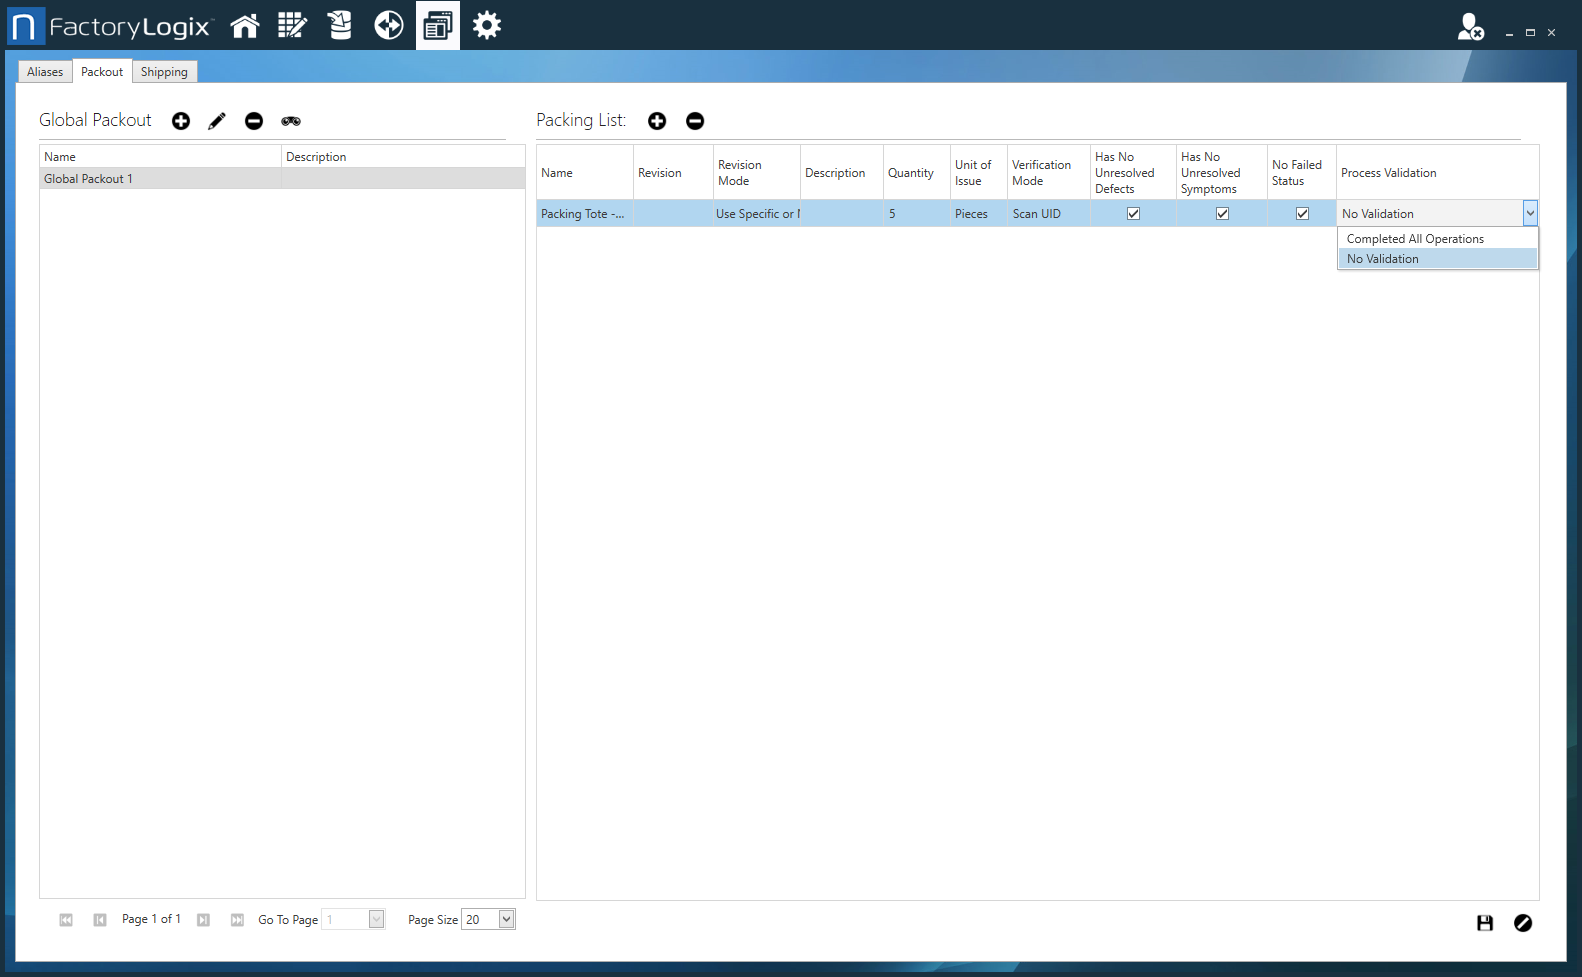
Under Packing List, use the following options in the table to specify how the global packout operation will be performed:
If several revisions of the selected assembly exist, use the Revision drop-down to select the valid revisions.
Use the Revision Mode drop-down to specify the revision mode of the selected items to use: Use Latest, Use Any, Use Specific, Use Specific or Newer, Use Specific or Older.
Enter a Quantity to be packed in the box in the Quantity field.
Use the Verification Mode drop-down to specify what the factory floor operator must enter or scan in order to specify the item being packed. There are four possible modes:
Acknowledge presents the operator with a check box to acknowledge that he or she followed the instruction and packed the appropriate item in the box. This is most useful for less-critical items like a quick-start guide or warranty sheet.
No Action presents the instruction to the operator with no requirement to acknowledge that an item was packed.
Scan UID turns on all validation options in the remaining columns of the dialog: that the assembly selected and scanned contains no open defects and has completed all of the prescribed assembly operations as defined in the process flow. (The Scan UID option requires that the assembly was built entirely in FactoryLogix.)
Scan Lot allows the operator to scan or enter any alphanumeric data as the lot ID for the assembly or the item being packed with no validation. The data entered will be presented in the overall traceability information.
Select the Has No Unresolved Defects check box to check for the presence of any unresolved (open) defects associated with the items being packed. (In Production, when global packout is being performed and the Has No Unresolved Defects validation check fails, the operator will see an error message.)
Select the Has No Unresolved Symptoms check box to check for the presence of any unresolved (open) symptoms associated with the items being packed. (In Production, when global packout is being performed and the Has No Unresolved Symptoms validation check fails, the operator will see an error message.)
Select the No Failed Status check box to check for items with a Failed status.
Under Process Validation, select Completed All Operations from the drop-down to ensure that all process operations were completed in Production. (If you select No Validation, process operations in Production are not validated.)
To save your selections for this global packout, select the Save button in the lower-right corner of the window.
In Production, when the operator gets to the Packout operation in the process, the global packout settings will be applied automatically.
Tip
If you have multiple, similar process definitions that can all make use of the same global packout, you can create a process flow template containing the global packout (that is, rather than selecting the same packout for individual assemblies. When the template is applied to a new process flow, the global packout settings are applied automatically.
JavaScript errors detected
Please note, these errors can depend on your browser setup.
If this problem persists, please contact our support.