Manage change notices

A change notice is used to change in-progress products/assemblies and processes. Change notices are an easy way to make shop floor operators aware of temporary changes in the production flow to avoid having to create a new process revision. With change notices, you can react quickly to temporary changes such as a shortage of one material that requires substituting another material.
You can specify change notices for these items in FactoryLogix:
Barcode
Part number
Operation
Process
Workstation
Batch
Assembly
The change notice system is flexible. You can fully control fully control what operators see and how they should react to a change notice.
Tip
You can manage change notices in either Production or NPI; the functionality is identical. (To access change notices in NPI, log in, then select Process Engineering>Change Notices.)
In the management area of change notices, you can specify the time periods to display a change notice, the way the notice is displayed, and control acknowledgements and approvals related to the change notice.
You can create a change notice with just a few clicks, select the affected items from a list, then add any necessary details and attachments. You can also duplicate change notices, then modify only the necessary details in the copy—a fast and easy way to create many similar notices quickly.
Log into the Production client application.
Select the Advanced Features
 button (the gear) at the top of the window, then select Change Notices.
Select the New Change Notice
 button in the upper-left corner of the window to display options for the change notice.
Note
Only bold items are required in the Properties window, however a detailed change notice is always more useful!
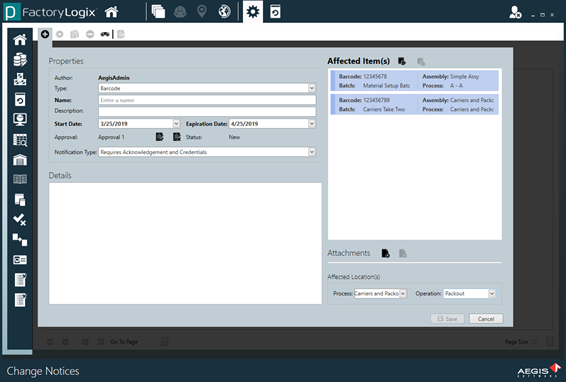
Use the Type drop-down to select the type of change notice:
Barcode
Part Number Operation
Operation Alias
Process Revision
Workstation
Batch
Assembly
Enter a descriptive Name for the change notice (required field).
Enter a Description for this change notice.
Select the desired Start Date and Expiration Date for the change notice (required field).
Next to Approval, select the Add Approval
 button to display the Add Approval dialog.
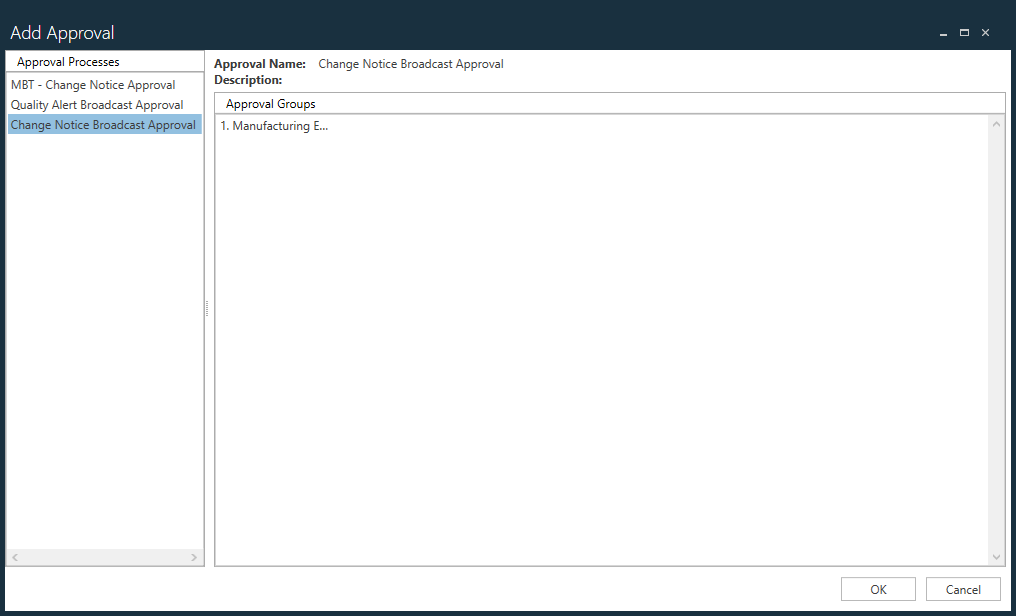
Under Approval Processes, select the desired approval process to attach to this change notice, then select OK.
The predefined approval groups for the selected approval process display on the right side of the dialog.
Note
Approval processes are defined in the NPI client application in the Templates and Standards area.
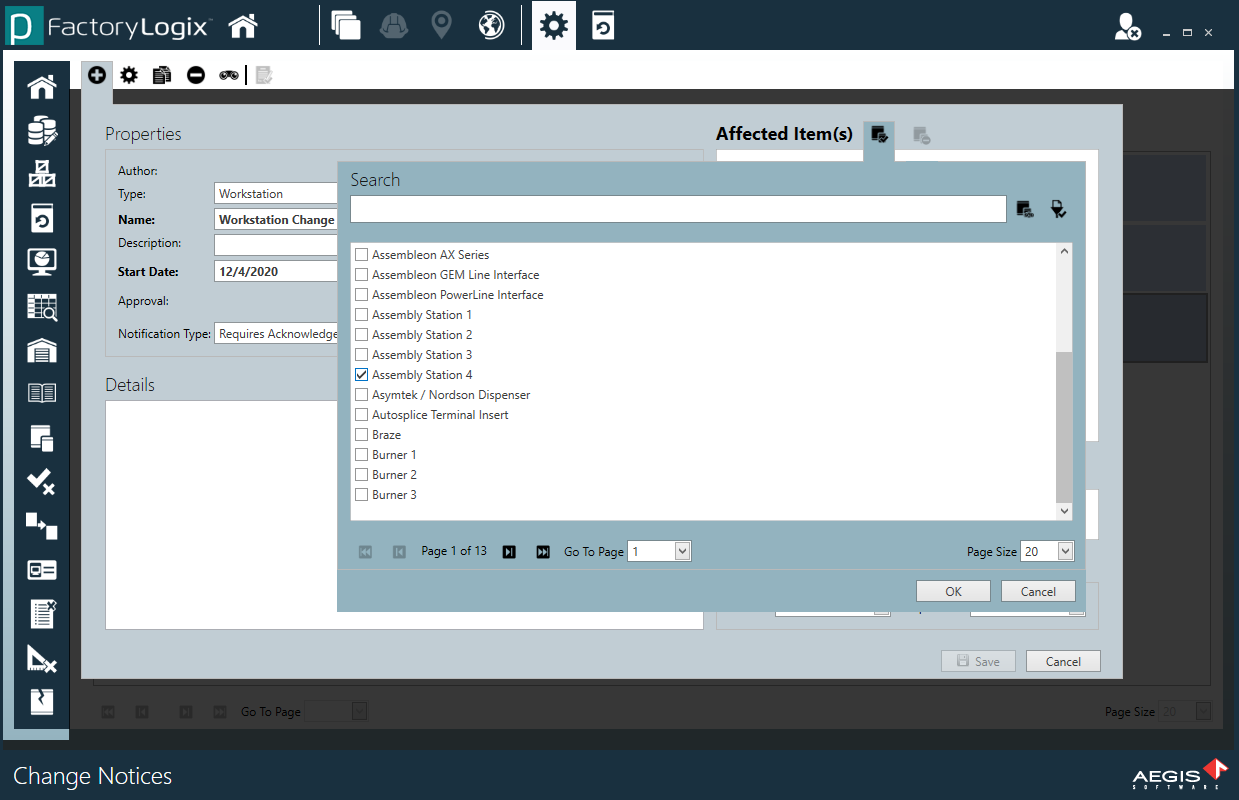
Select the Add Affected Items button in the upper-right corner of the Properties dialog.
Use the Search and Add Search Filters buttons on the right side of the dialog to help locate all affected items.
Use the check boxes to select all items affected by this change notice, then select OK.
Note
The search and filtering options will vary depending on the change notice Type you selected in the Properties dialog. In our example, the Workstation change notice displays all workstations by default.
In the Properties dialog, use the Notification Type drop-down to select the type of notification for the change notice (Requires Acknowledgement, for example).
Under Details, add any additional detail that people should n=know about this change notice. In our workstation example, we added "Assembly Station 4 will be offline from 12/4/2020 until 1/4/2021 for repair."
To attach any documentation related to the change notice, select the Add Document button next to Attachments, then select a document to load with the change notice.
Under Affected Location(s), select any process or operation that will be directly affected by this change notice.
After making all selections for the change notice, select the Save button in the lower-right corner of the Properties dialog.
The notice is added to the current list of change notices.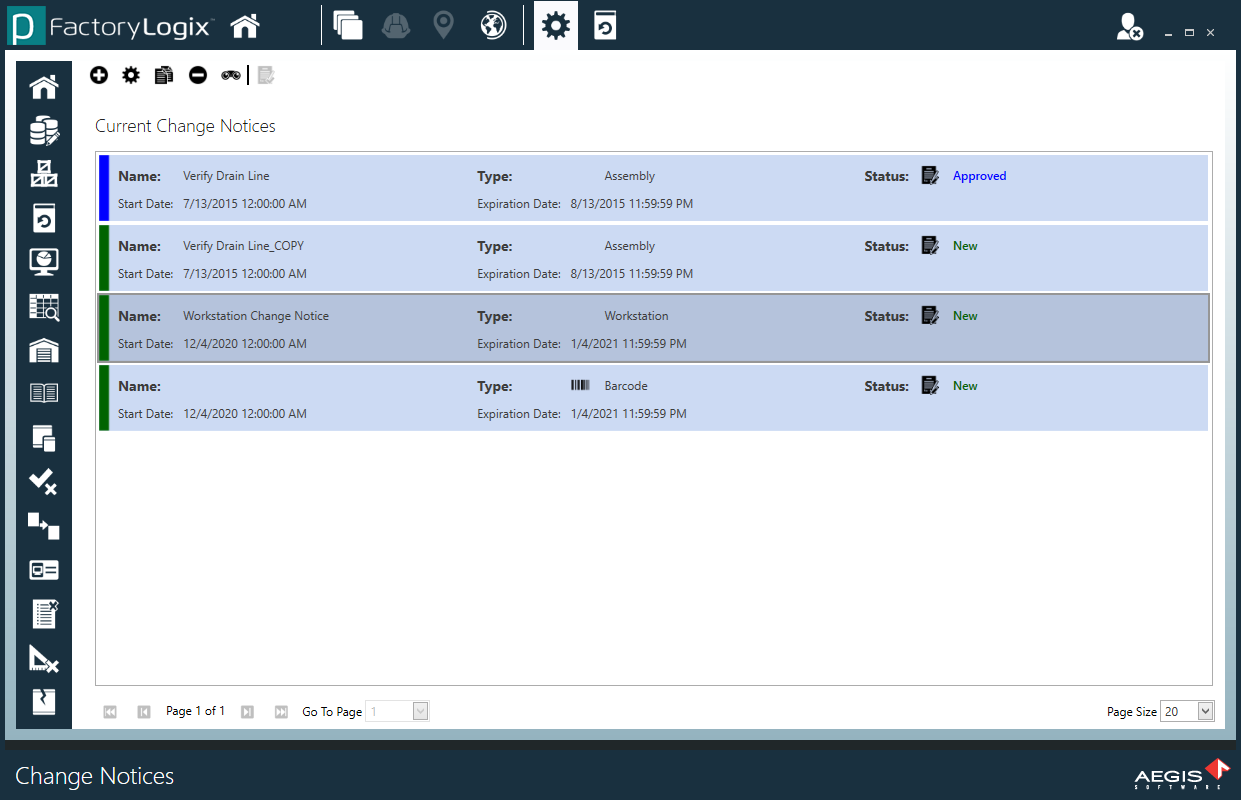
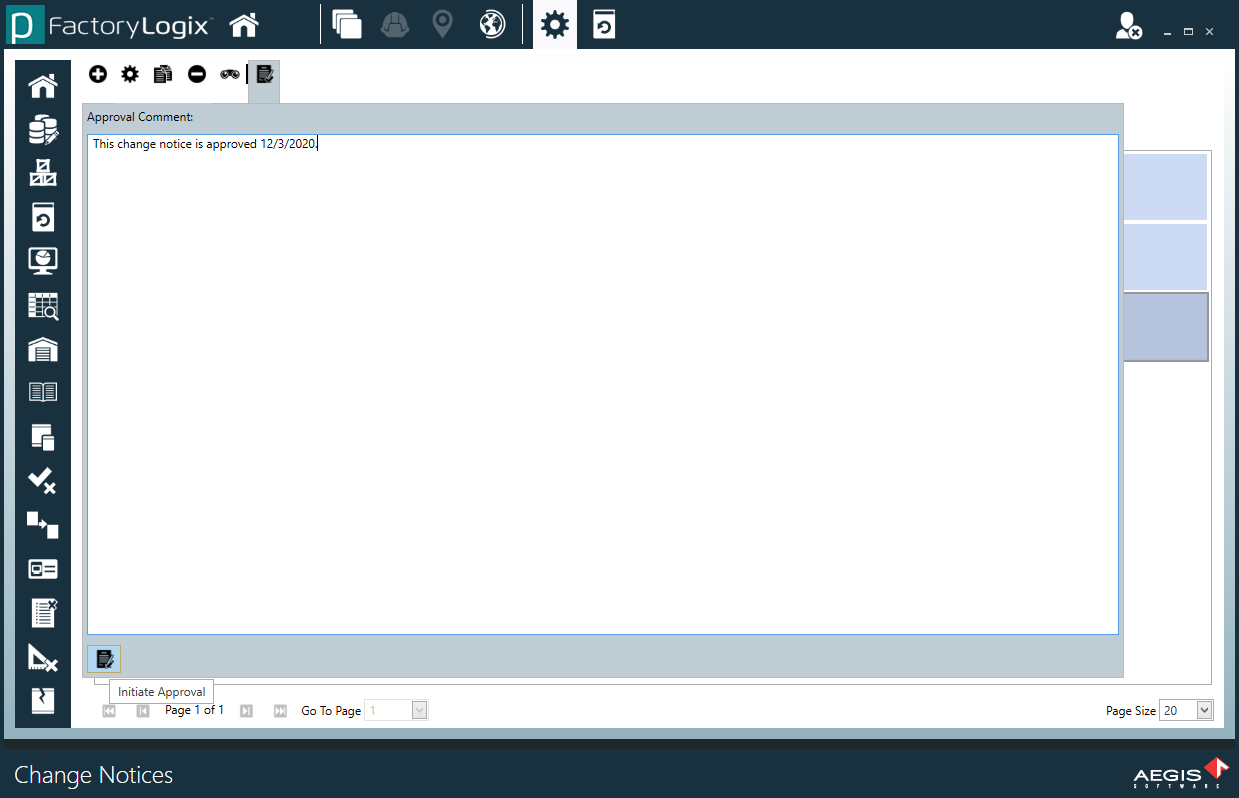
Select the Initiate Approval
 button on the right side of the toolbar (upper-left corner of the window) to start the approval process.
Add any necessary comments related to the change notice approval, then select the Initiate Approval button in the lower-left corner of the Approval Comments dialog.
The change notice is now in the approval stage and displays with a status of Pending Approval as shown in the following illustration.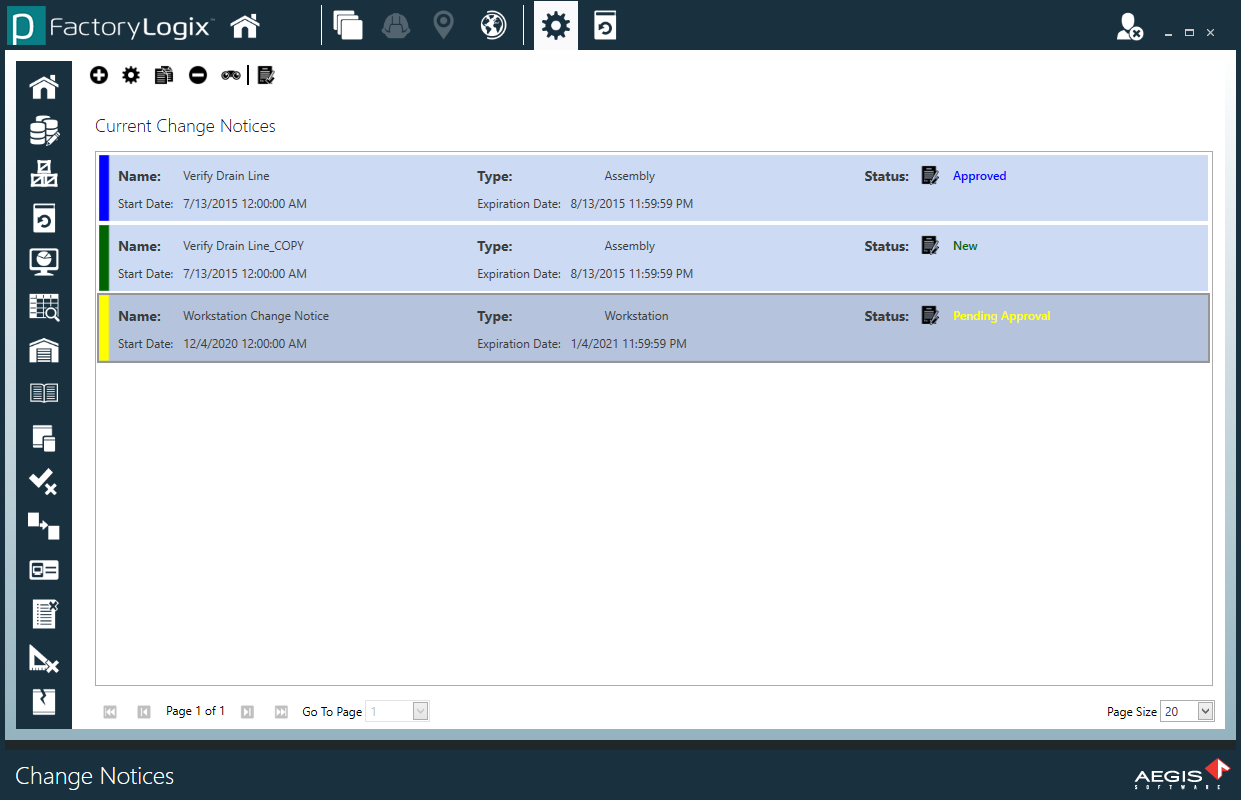
Related topics |
|---|