Add items to a template
When you create an Active Work Instruction template, you add items to the template using the Insert menu commands, then use the tools on the Drawing Tools tab to edit, move, arrange, and customize template items.
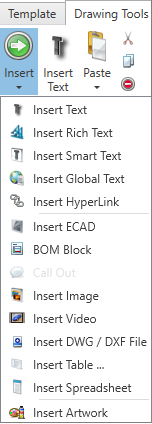

The following table describes items you can add to an Active Work Instruction template using the Insert menu commands.
Insert menu command | Description |
|---|---|
Insert Text | Adds plain text. Plain text has limited formatting options (text color and background color).
|
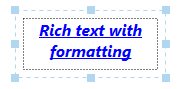
Insert Rich Text | Adds rich text that can include formatting such as different fonts, styles, colors, and sizes.
 |
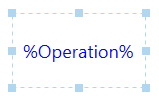
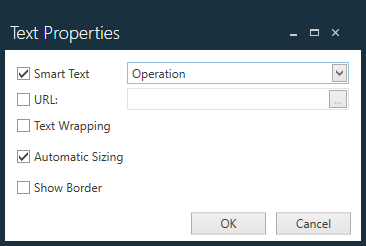
Insert Smart Text | Adds a text box where the content of the box is filled dynamically with data from a specific source during production. For example, Operation is a smart text field that looks like this when you are editing: %Operation%. When viewed in the Production client application, the smart text tag is replaced with the actual operation name such as Stencil Printer.
|
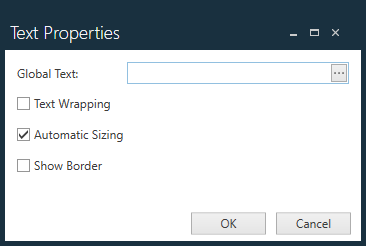
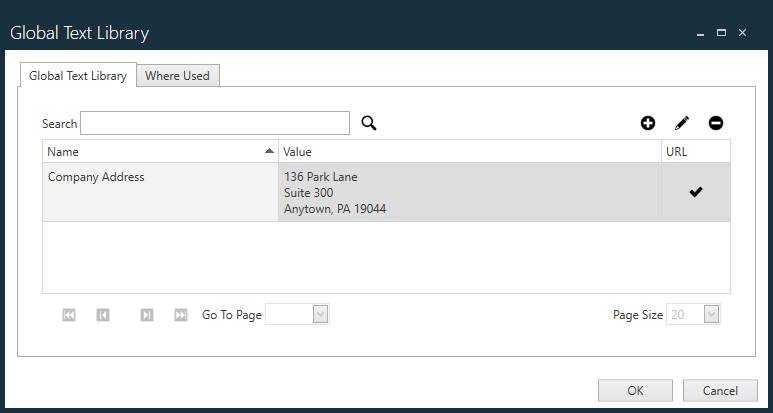
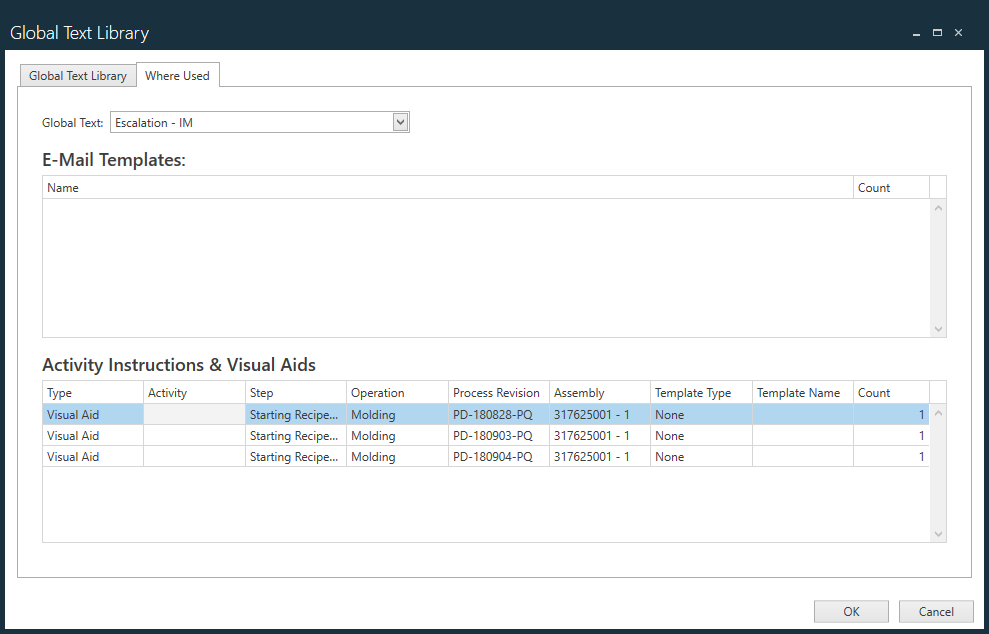
Insert Global Text | Adds a global text box. Global text is commonly included in all documents (and you can change it easily in one place for all documents). For example, Company Address might be a global text entry that can be updated in all documents with one edit if your company's address changes.
|
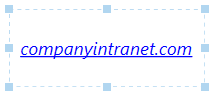
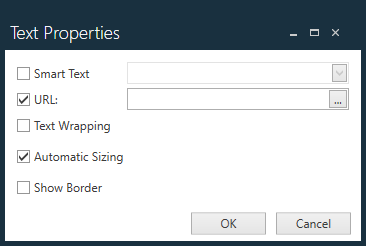
Insert Hyperlink | Adds a text box that you can use to create a text hyperlink to an internet or intranet site or folder.
|
Insert ECAD | Inserts an ECAD object and displays a dialog where you can select ECAD layers and color coding. Note Insert ECAD is used specifically for electronics manufacturing and displays the actual electronic CAD file in an interactive way so that you can color-code it and add callouts to it. The parts on the board are color-coded in a number of different ways with a parts list in the form of a BOM Block. The ECAD object also allows you to interactively search the CAD file to determine the physical location of a reference designator. 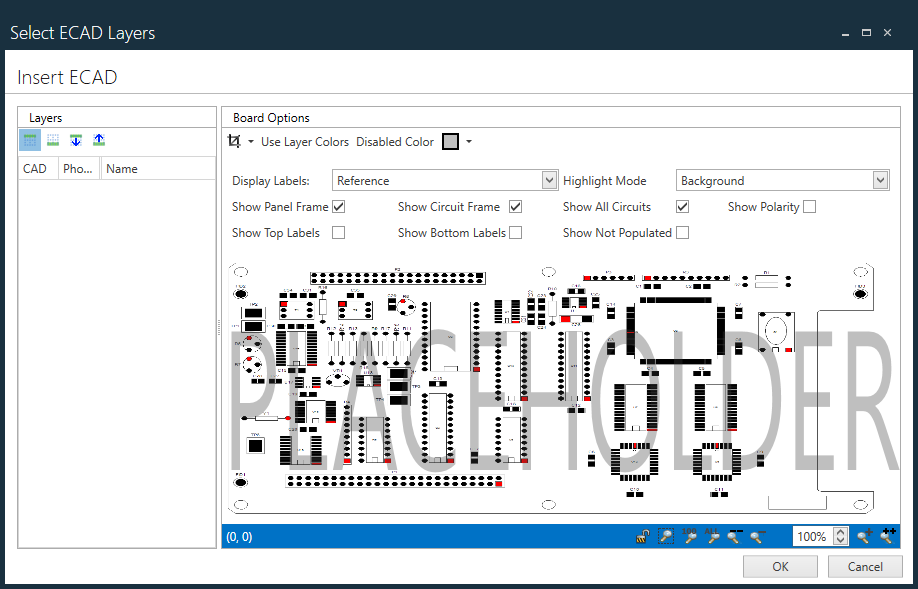 |
Insert 3D CAD | Inserts a 3DCAD object and its associated views for an assembly. |
BOM Block | Displays the BOM Block Editor window where you can create and format a BOM block's properties. A BOM block typically lists the parts, quantities, and related descriptions from a Bill of Materials (BOM) required for a task that a shop floor operator performs. You can customize the BOM block contents for any manufacturing operation or task by adding or deleting columns and creating custom information fields. In the BOM Block Editor, you can modify the table settings, add or remove columns, and change column titles or select titles from a predefined list. You can also change the BOM title, table settings, column heading titles, and adjust text formatting, reset the BOM block to the default settings, save the BOM block as a template, load and/or edit a previously-saved BOM block template. 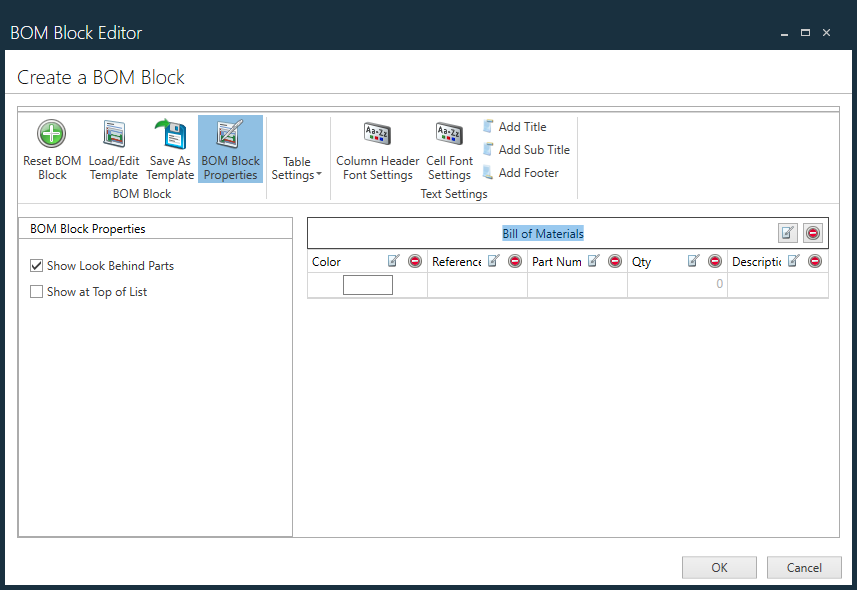 |
Insert Image | Adds a graphic such as an assembly diagram or photo.
|
Insert Video | Embeds a video file such as assembly guidance or other instructions. A variety of video formats are available. Videos are often an excellent way to convey complex work instructions to factory floor personnel.
|
Insert DWG/DXF File | Adds MCAD mechanical drawings in *.dwg or *.dxf formats.
|
Insert Table | Displays the Table Editor where you can create a custom table. 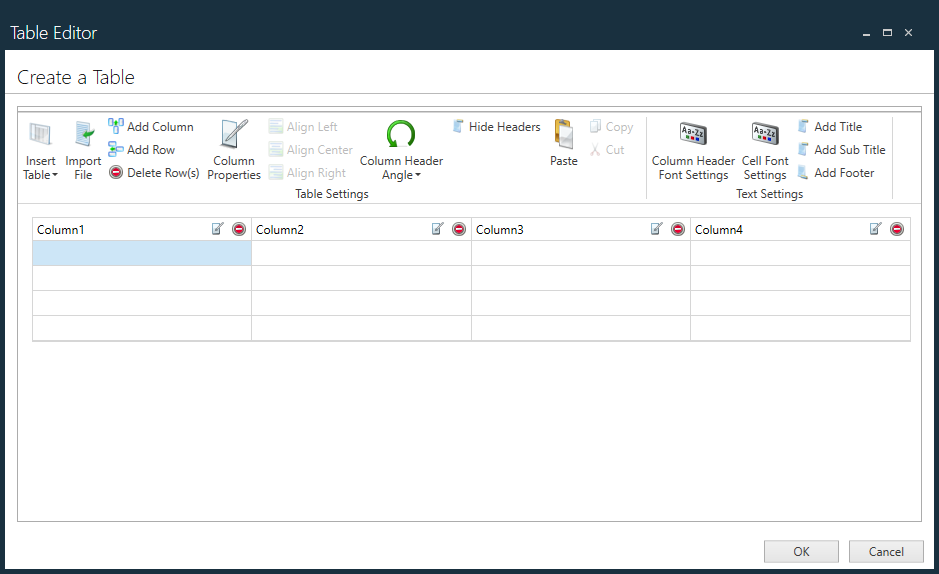
|
Insert Spreadsheet | Inserts a blank spreadsheet into the template. You can drag the selection handles to resize the spreadsheet. 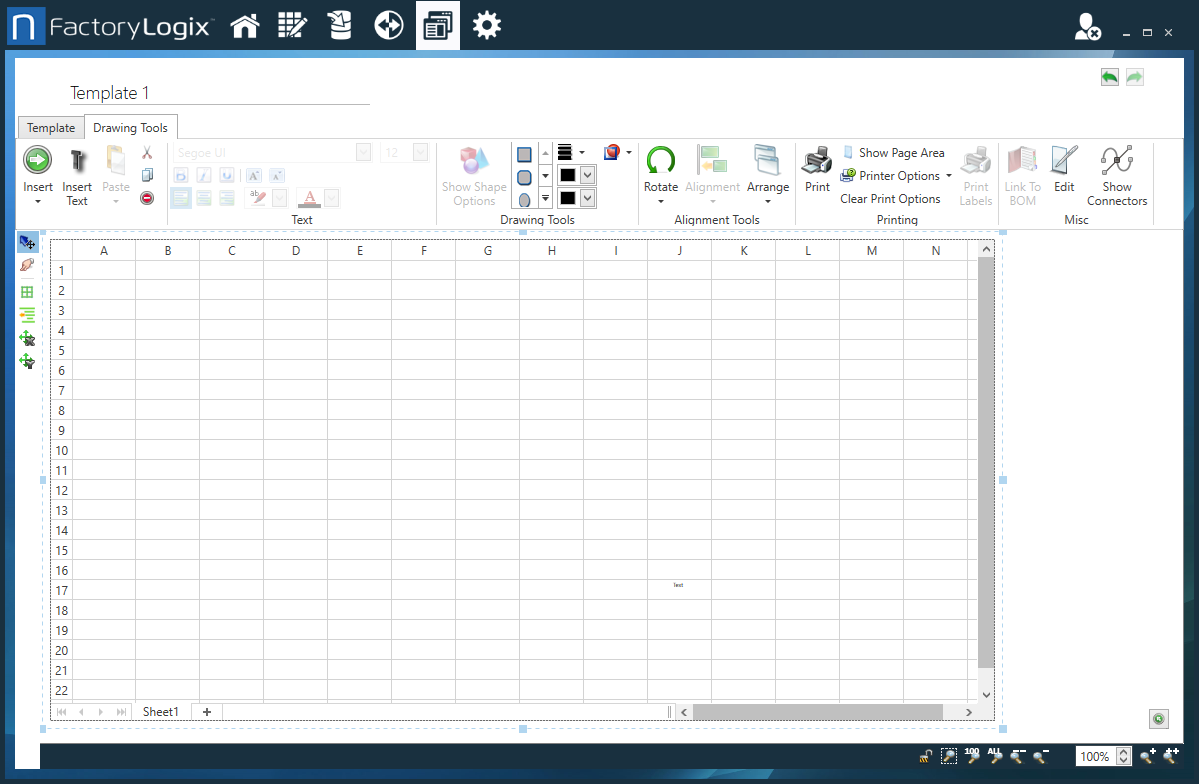 |
Insert Artwork | Displays the Artwork Library window where you can select commonly-used artwork (for example, your company logo or ESD warning labels or safety information). You can save any selected item as artwork in the library to reuse later.
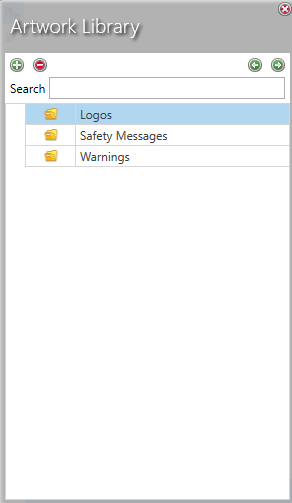 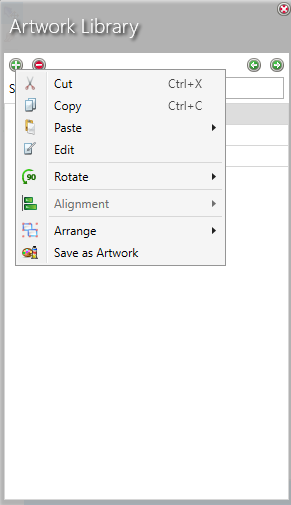 |