Customize template items
After you create an Active Work Instruction template, you can refine, organize, and customize template items.
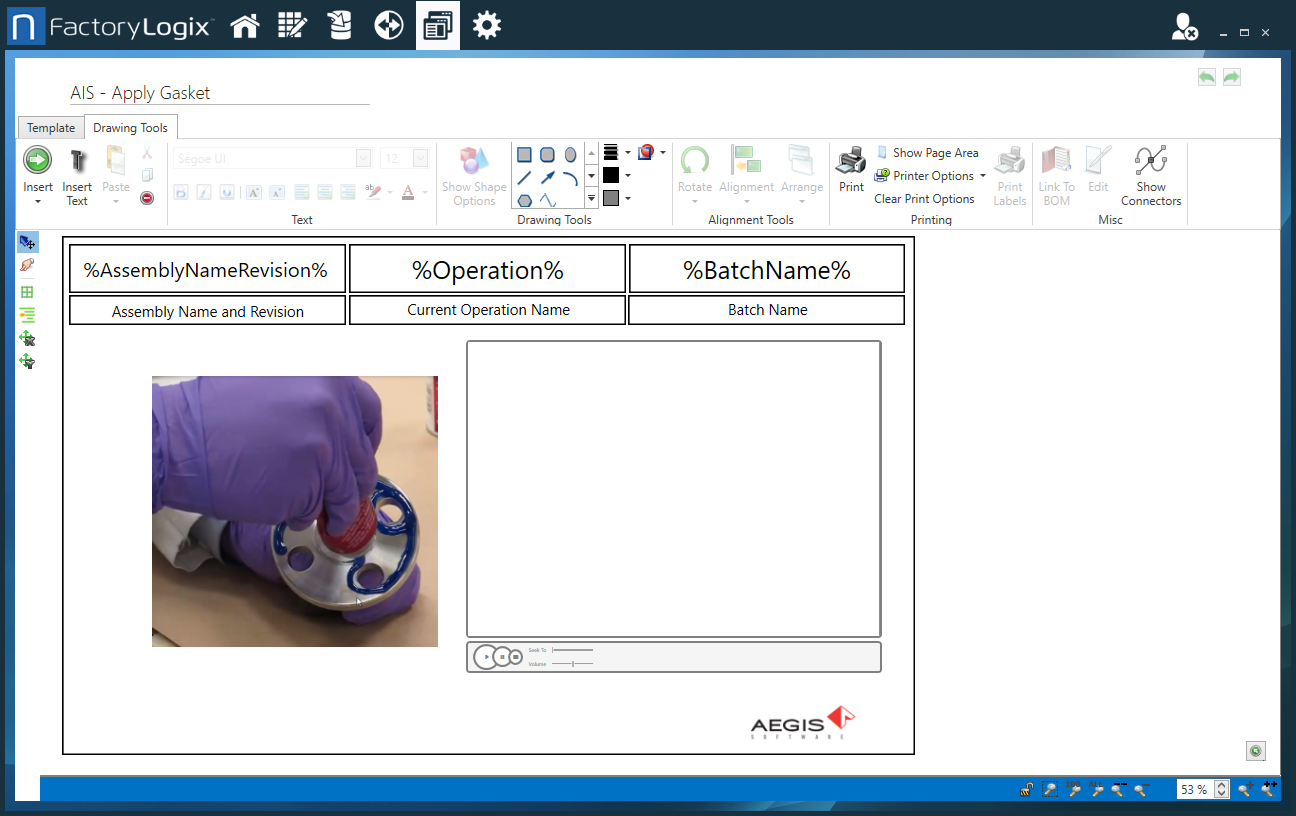
The Drawing Tools tab has a variety of tools you can use to mark up and annotate text, drawings, shapes, and images in an Active Work Instruction template.

Tool | Description |
|---|---|
Text tools | 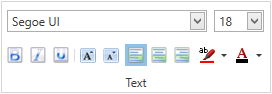 These tools control font, font size, formatting (bold, italic, underline), font color, text highlight color, and text alignment. Note Depending on the kind of text you select, (Plain, Rich, or Smart), some or all of these options are available. For more information about Smart Text, see Use Smart Text tags in a template. |
Drawing tools and shape options | 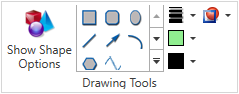 Use the shape tools to add lines, arrows, rectangles, free-form polygons, and other shapes. To the right of the shape tools, there are options to control shape and line colors, opacity, and line weight. Select Show Shape Options to display specific options for each type of shape. For example, if you select an arrow, you can control whether arrows have arrowheads at their start and end position or both. If you select a polygon, you can specify the number of sides. Other options include start and end angles for arcs, X and Y coordinates, Width and Height measurements, and the corner radius measurement for rounded rectangles. |
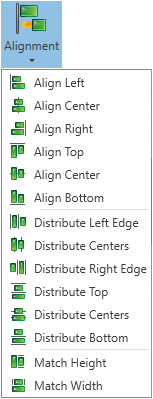
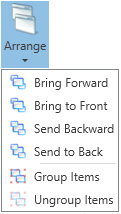
Alignment tools | 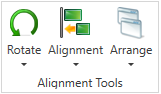 When you select multiple items, you can use the Alignment tools to group, rotate, arrange, and align the items. For example, you might want to center a title above a BOM block or add callout arrows to a photo showing where parts should be added to an assembly.
 |
Printing tools | The Printing tools include standard printing and printer setup options for printing visual aids. You can also select Show Page Area to ensure that all items fit in the document for printing. 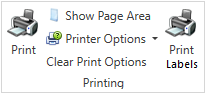 Note If you add a color-coded BOM block to a work instruction step, you can select the Print Labels button to print color-coded part bin labels for each selected step that contains a BOM block. |
Miscellaneous tools | The Miscellaneous tools on the right side of the toolbar allow you to edit an ECAD image, display the connectors for one or more selected items, or link to a BOM using the Link To BOM toolbar button. 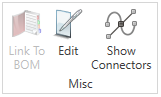 Note The BOM must be published (no longer under construction) in order to use the Link To BOM feature. |