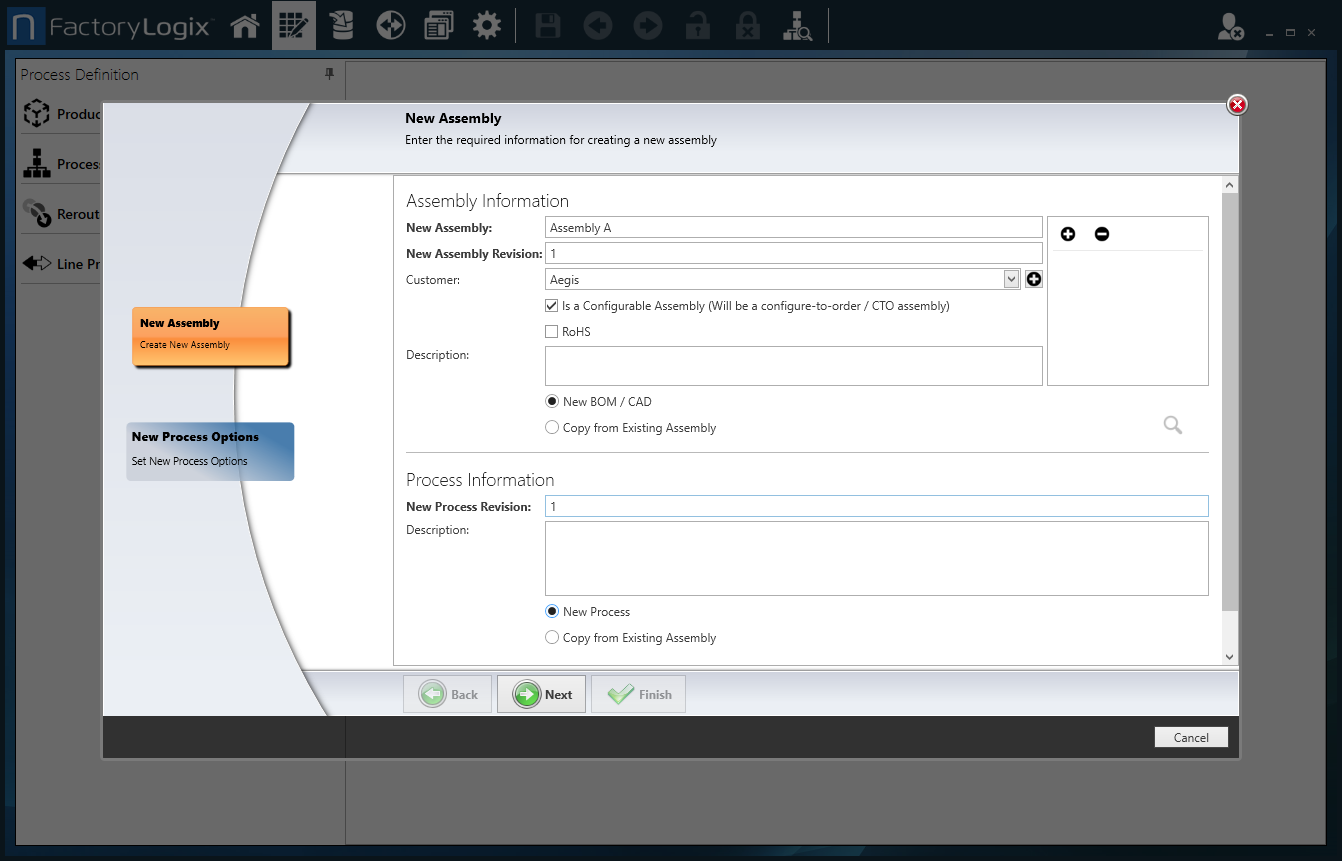
When you create a new assembly in FactoryLogix, a wizard guides you through the creation steps.
Log into the NPI client application.
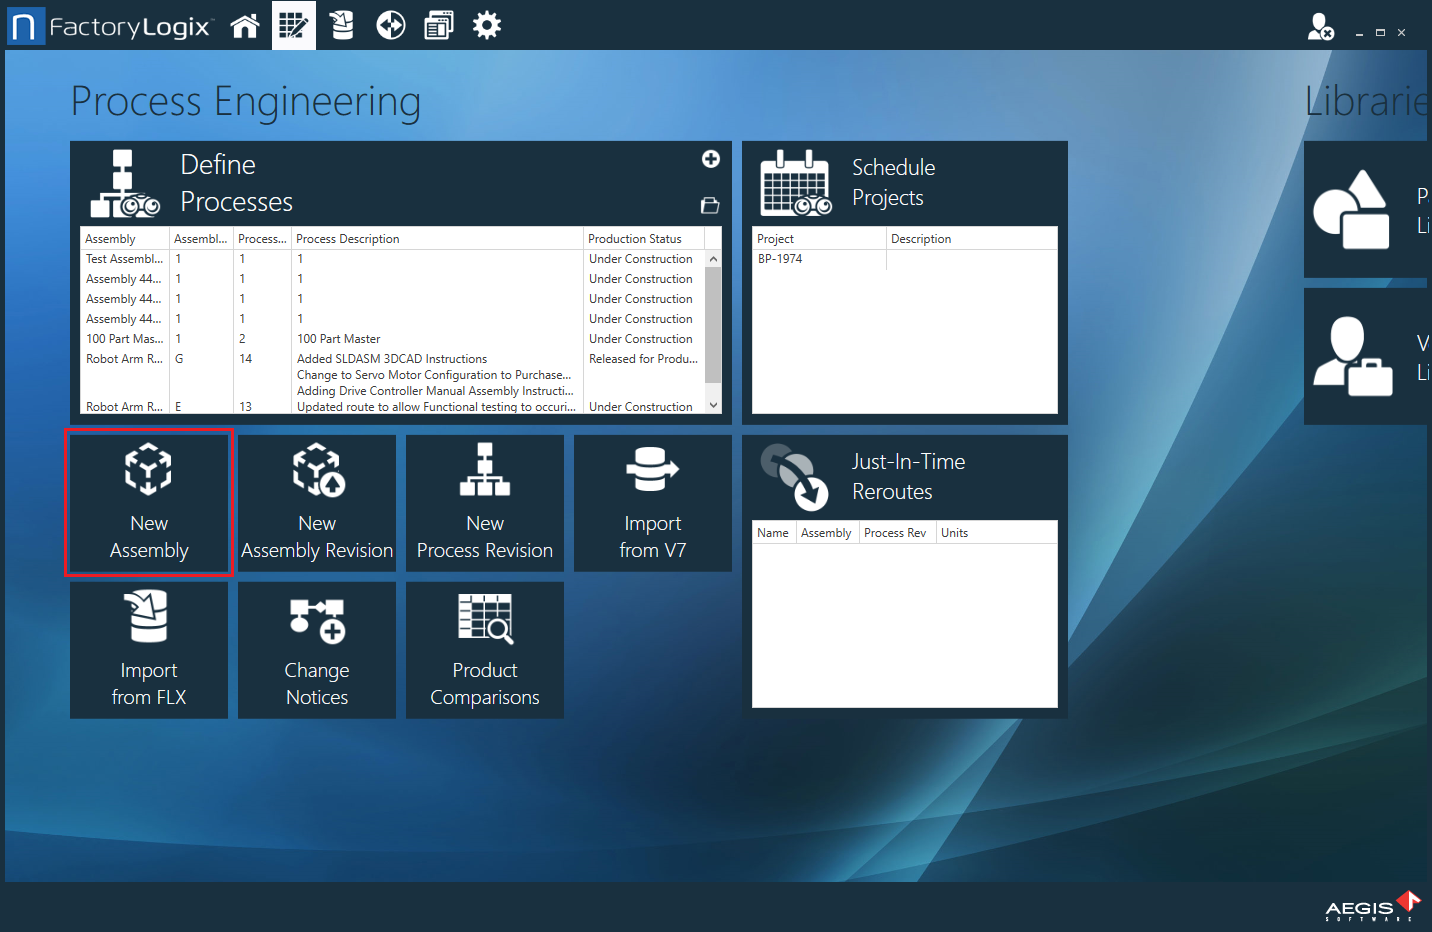
Select Process Engineering.
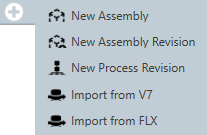
Select the New Assembly button under Define Processes.
Note
You can also select the Add New Process button to the right of Define Processes, then select New Assembly from the drop-down to create a new assembly.
Enter a name for the New Assembly, then enter a value for the New Assembly Revision level.
Note
Configure-to-Order (CTO) represents a customer's ability to define the configuration of a product when they order it and a manufacturer to subsequently build that product configuration dynamically when they receive the order. See Configurable assemblies for more information.
To associate a customer with this assembly, do one of the following:
Select a name from the Customer drop-down
Select the Add button, enter a new customer name, then select OK.
If this assembly is a Configure-To-Order assembly, select the Is a Configurable Assembly (Will be a configure-to-order / CTO assembly) check box.
If this assembly is required to pass Restriction of Hazardous Materials (RoHS)compliance, select the RoHS check box.
(Optional) Enter a Description for the assembly.
Note
Although entering an assembly description is optional, a detailed description can be very helpful to others who may not be familiar with the assembly.
Do one of the following:
Select New BOM/CAD to import a BOM file and CAD file for this assembly
Select Copy From Existing Assembly to quickly reuse an existing BOM or CAD file, select the assembly from the list, then select OK.
Enter a New Process Revision level.
Select New Process to create a new process definition for this assembly.
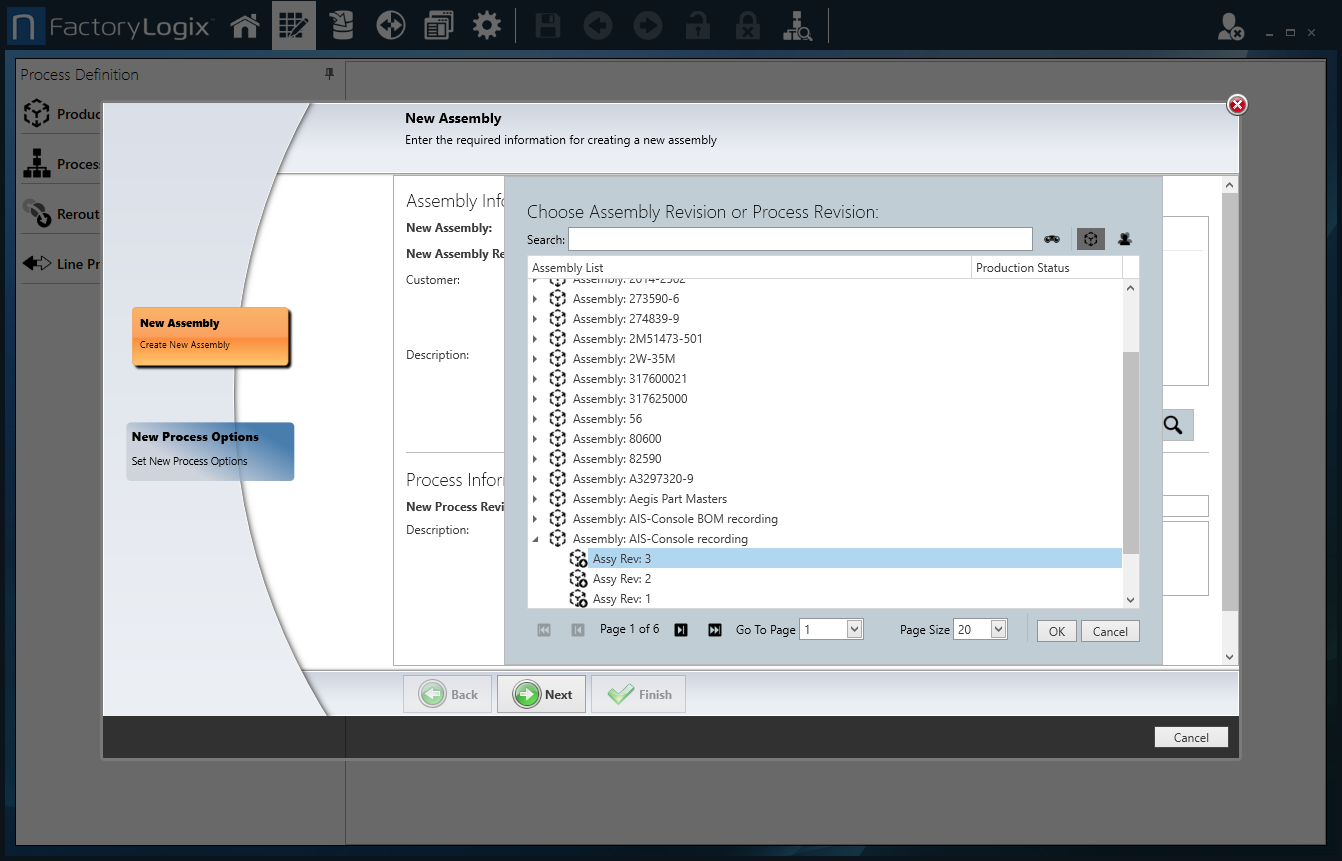
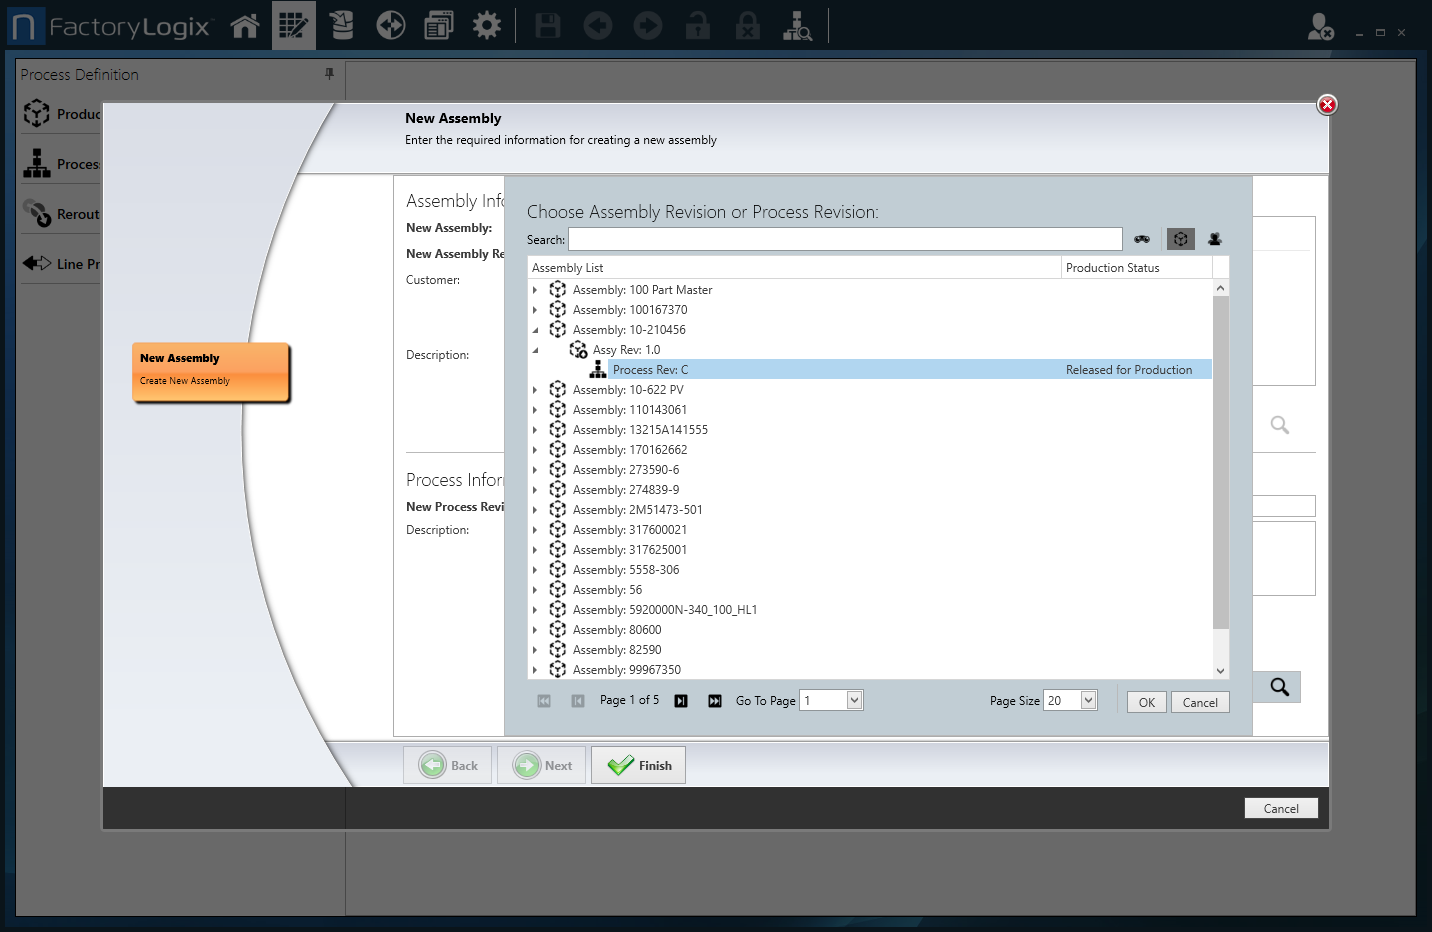
(Optional) To copy process information from an existing assembly, select the Copy from Existing Assembly button, locate and select the assembly from the Choose Assembly Revision or Process Revision dialog, then select OK.
Select Next.
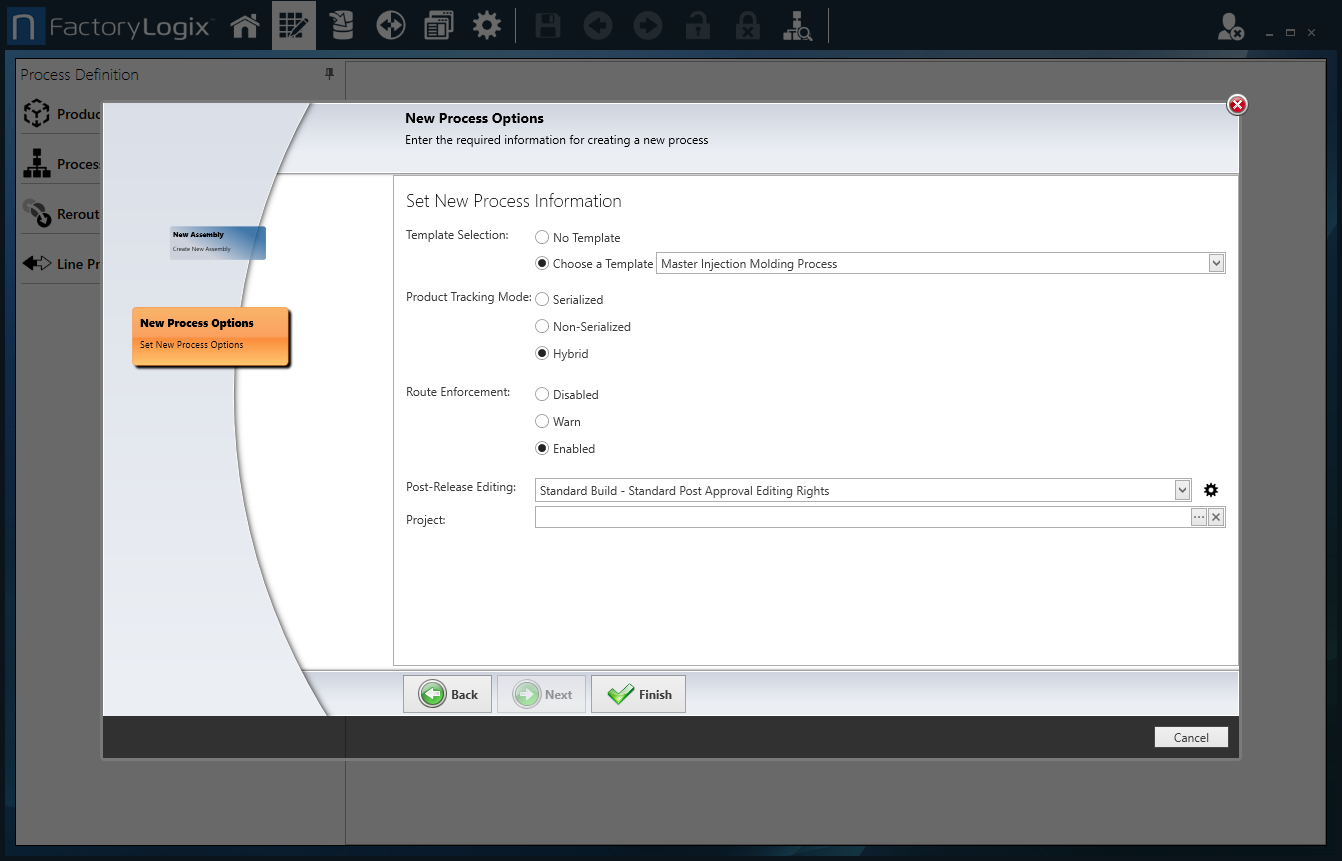
Select new process options
On this page of the wizard, you specify a template for the process definition, the product tracking mode, route enforcement options, a profile for post-release editing, and (if desired) a project to associate the new process definition with for the assembly.
On the New Process Options page, select a template for the process definition (if one is available), or select No Template if you plan to create a new process definition for this assembly.
Select the Product Tracking Mode: Serialized, Non-Serialized, or Hybrid.
Note
The Hybrid tracking mode tracks (in order) non-serialized, then serialized products.
Determine if you need route enforcement for this assembly, then select Disabled, Warn, or Enabled.
If you plan to allow Post-Release Editing of this assembly, select a previously-defined Lock Down profile from the drop-down to apply it to the assembly or create a new profile:
To create a Lock Down profile for this assembly, select the gear icon, select the Add button, enter a name for the profile, then select OK.
Use the check boxes to select the parts of the process definition you want to lock down (that is, prevent others from editing), then select OK.
Note
A Lock Down profile specifies the parts of a process definition that can be edited and the parts that are locked down (non-editable) after being released to production.
To associate this process definition with a previously-defined project, select the Browse (...) button, locate and select the project, then select OK.
Select Finish.
Now you're ready to load design files for the new assembly. You may have a BOM file or a BOM, CAD, and additional design files to load. See Import a BOM and other design files for details and next steps.

 button, enter a new customer name, then select OK.